qrfaction的博客


  • 首页

  • 关于

  • 标签

  • 分类

  • 归档

OpenMP数据共享与任务并行

发表于 2018-05-04 | 分类于 高性能编程

OpenMP基于共享内存的线程级并行计算
支持的编程语言包括C、C++和Fortran
只需要在适当的位置添加pragma就可以将程序自动并行处理
当编译器不支持OpenMP时,程序会退化成普通(串行)程序

并行指令

parallel指令

#include "omp.h"
#include "iostream"
#include "stdlib.h"

using namespace std;

int main(){

    #pragma omp parallel num_threads(6)
    {
        cout<<"hello world"<<endl;
    }
}

编译运行 g++ test.cpp -fopenmp -lpthread
代码输出如下

hello world
hello worldhello world
hello world
hello worldhello world

使用OpenMP必加 #pragma omp 前缀
parallel可以使得后续代码块并行执行,默认是机器核心数,若加了num_threads(6)语句则开启6个线程

OpenMP采用fork-join执行模型
在进入代码块前开启多个线程,最后再阻塞等待所有线程执行结束退出代码块

prallel for指令

#include "omp.h"
#include "iostream"
#include <stdlib.h> 

using namespace std;

int main(){

    #pragma omp parallel for
    for(int i=0;i<omp_get_num_procs();++i)
        cout<<"thread id : "
            <<omp_get_thread_num()<<endl;
}

代码输出如下

thread id : thread id : thread id : thread id : 21

0
3

int omp_get_num_procs() 返回机器核心数
int omp_get_thread_num() 返回当前线程id(话说这名字起的…)

其中parallel for 指令并非能并行所有for循环,要满足如下条件

1. for循环中的循环变量必须是有int 即int i
2. for循环中比较操作符必须是<, <=, >, >= ,如!=等会编译不通过
3. 第三个表达式必须是循环变量的加减,且似乎只能++i, i++, -–i, 或i-–
4. 循环体内部不许出现到达循环体外的跳转语句如break,goto,但exit除外

sections指令

int main(){
    #pragma omp parallel sections
    {
        #pragma omp section
        {
            for(int i=0;i<4;++i)
                printf("i:%i \t id:%d\n",i,omp_get_thread_num());
        }

        #pragma omp section
        {
            for(int i=0;i<4;++i)
                printf("i:%i \t id:%d\n",i,omp_get_thread_num());
        }
    }
}

程序执行结果如下

i:0      id:1
i:1      id:1
i:2      id:1
i:3      id:1
i:0      id:3
i:1      id:3
i:2      id:3
i:3      id:3

sections指令中的section指定的代码块将会并行执行

数据共享

#include "omp.h"
#include "iostream"
#include <stdlib.h> 

using namespace std;

int main(){

    int a=10;

    #pragma omp parallel for firstprivate(a)
    for(int i=0;i<10;++i)
        cout << a*i << endl;
}

firstprivate子句在每个线程中声明了a变量,并以外部的a变量的值进行初始化
代码运行结果如下

30
40
50
80
90
0
10
20
60
70

子句 private(val1, val2, …)
声明私有变量,但值与外部变量不同,全部初始化为0

子句 last_private(val1, val2, …)
将会把并行区域中最后一次执行对val1的操作后的值将会拷贝到相应外部变量中

shared(val1, val2, …)
声明这些变量共享(其实并行区域外的变量默认是共享的)

reduction子句

#include "omp.h"
#include "iostream"
#include <stdlib.h> 

using namespace std;

int main(){

    int sum=10;

    #pragma omp parallel for reduction(+:sum)
    for(int i=0;i<10;++i){
        sum +=i;
        cout << sum << endl;
    }
    cout<<"sum "<<sum<<endl;
}

在这里每个线程首先拷贝了一份外部的sum并各自计算
最后以指定的运算”+”进行归约(reduction),将各线程的结果求和
最后退出代码块将值拷贝到外部的sum

数据竞赛之完备思考

发表于 2018-05-02 | 分类于 ML&DL

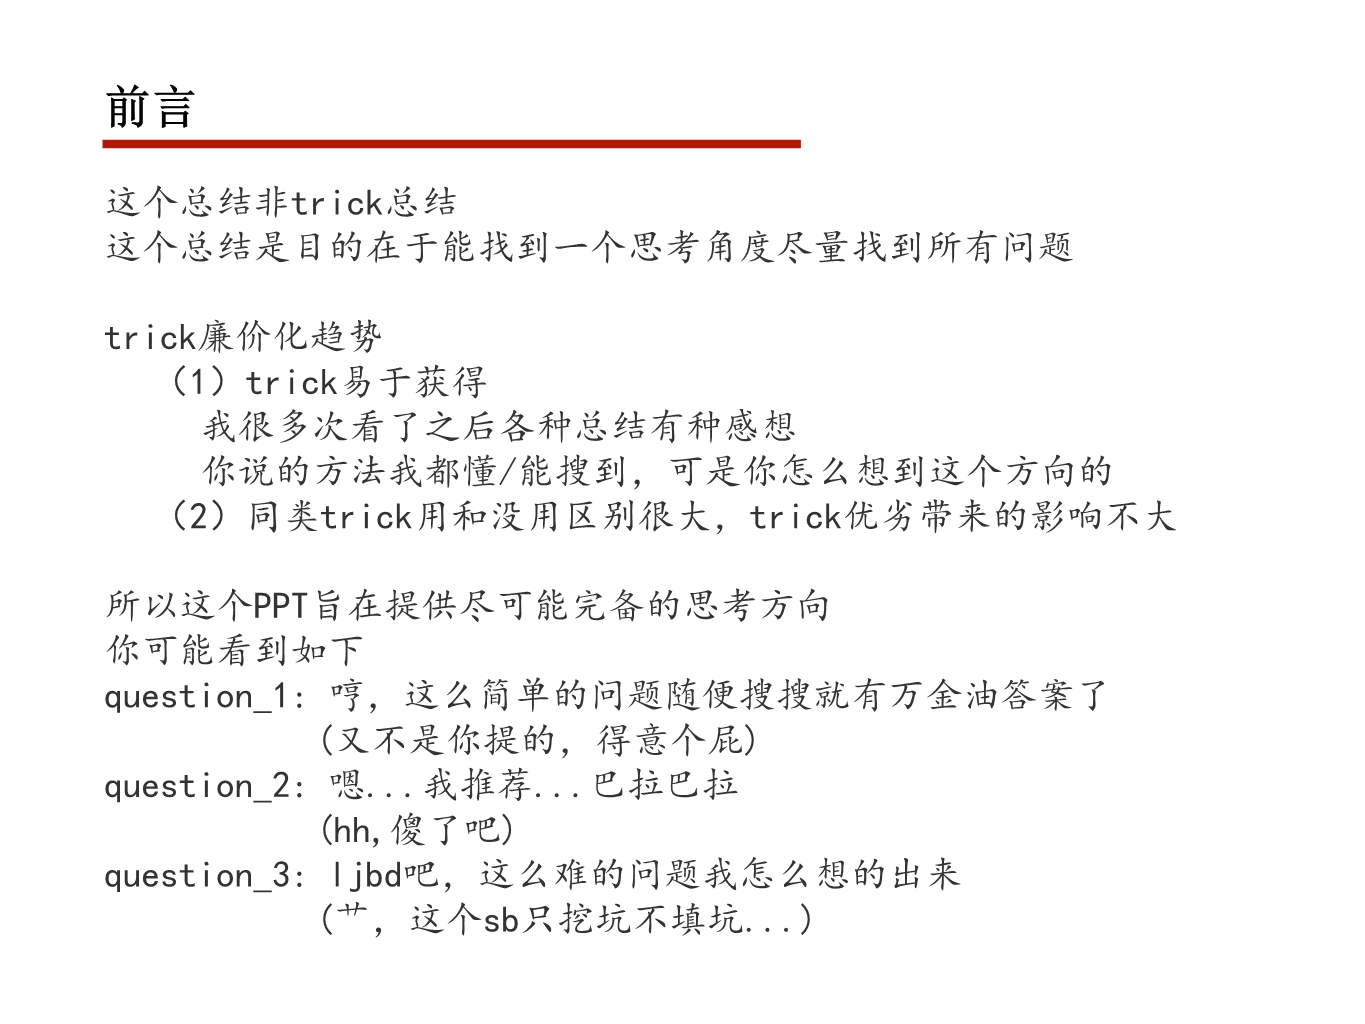
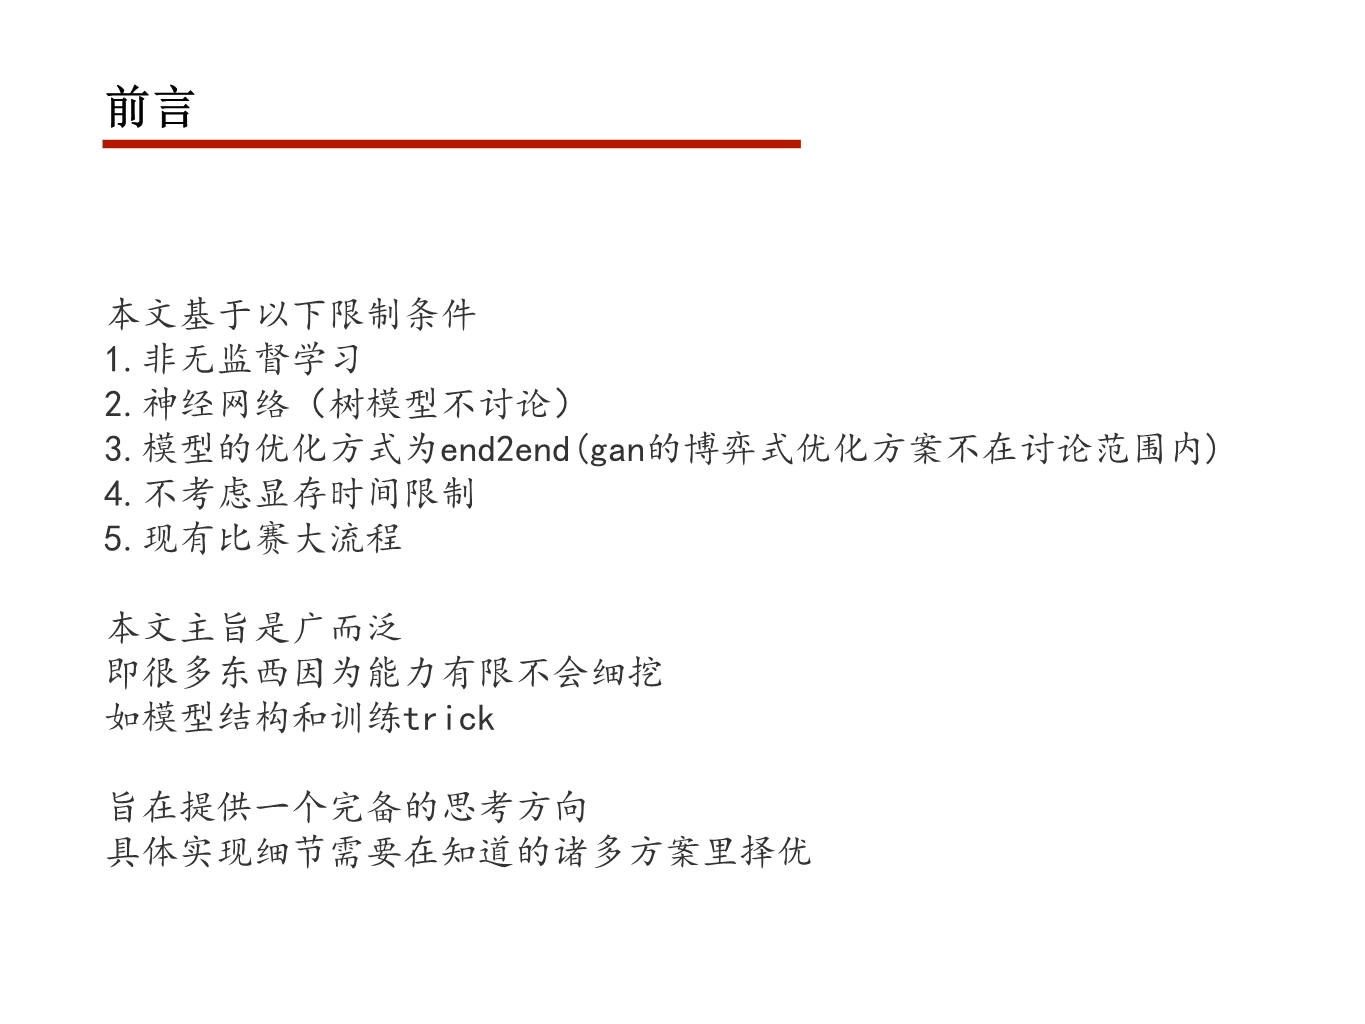
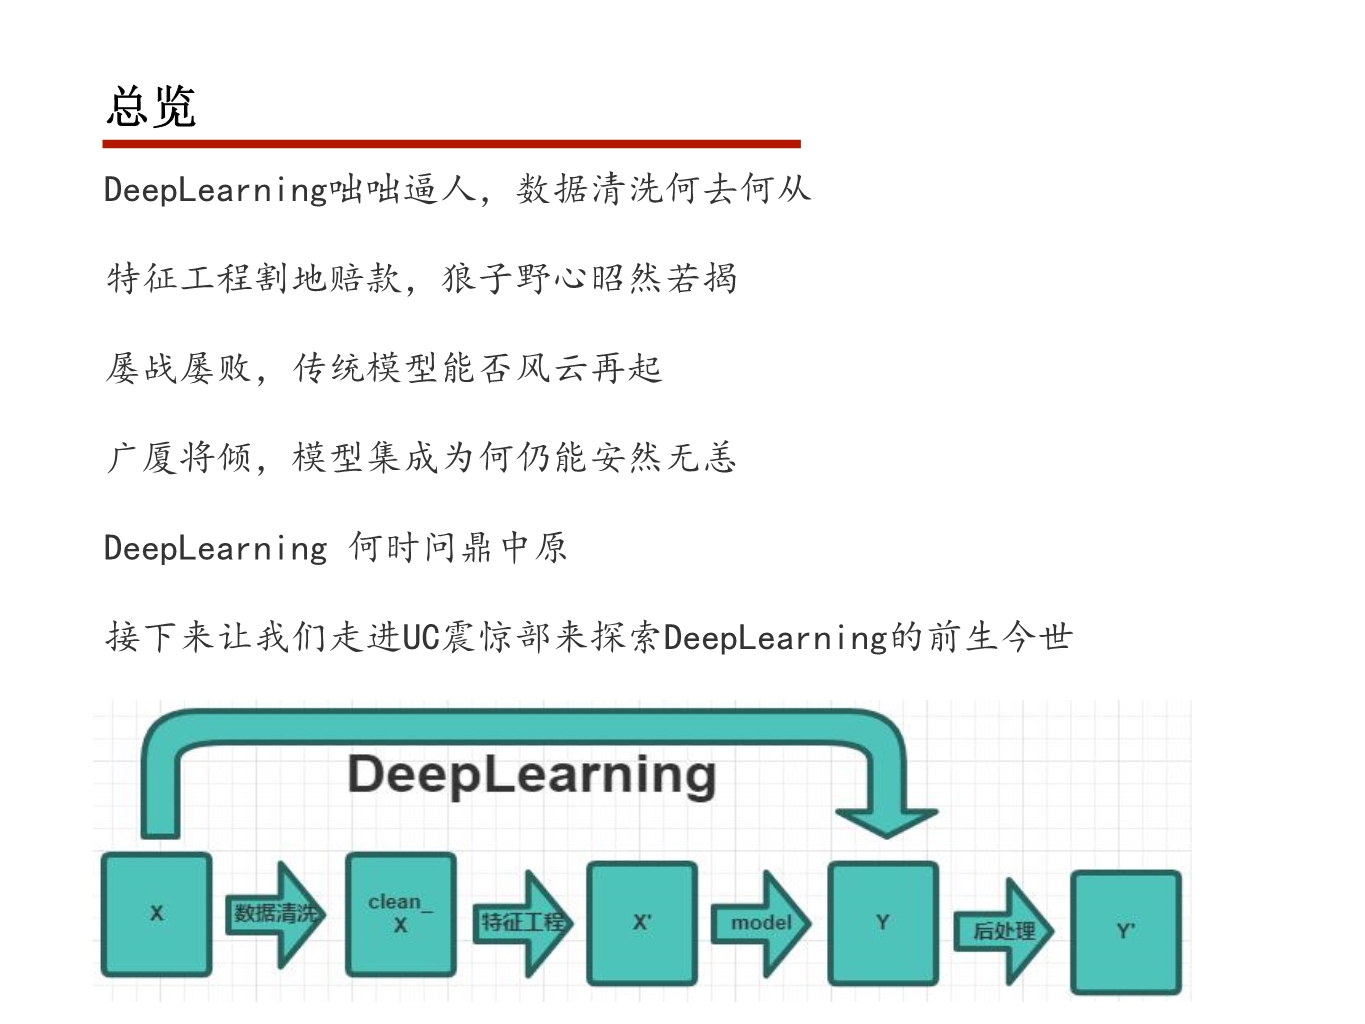
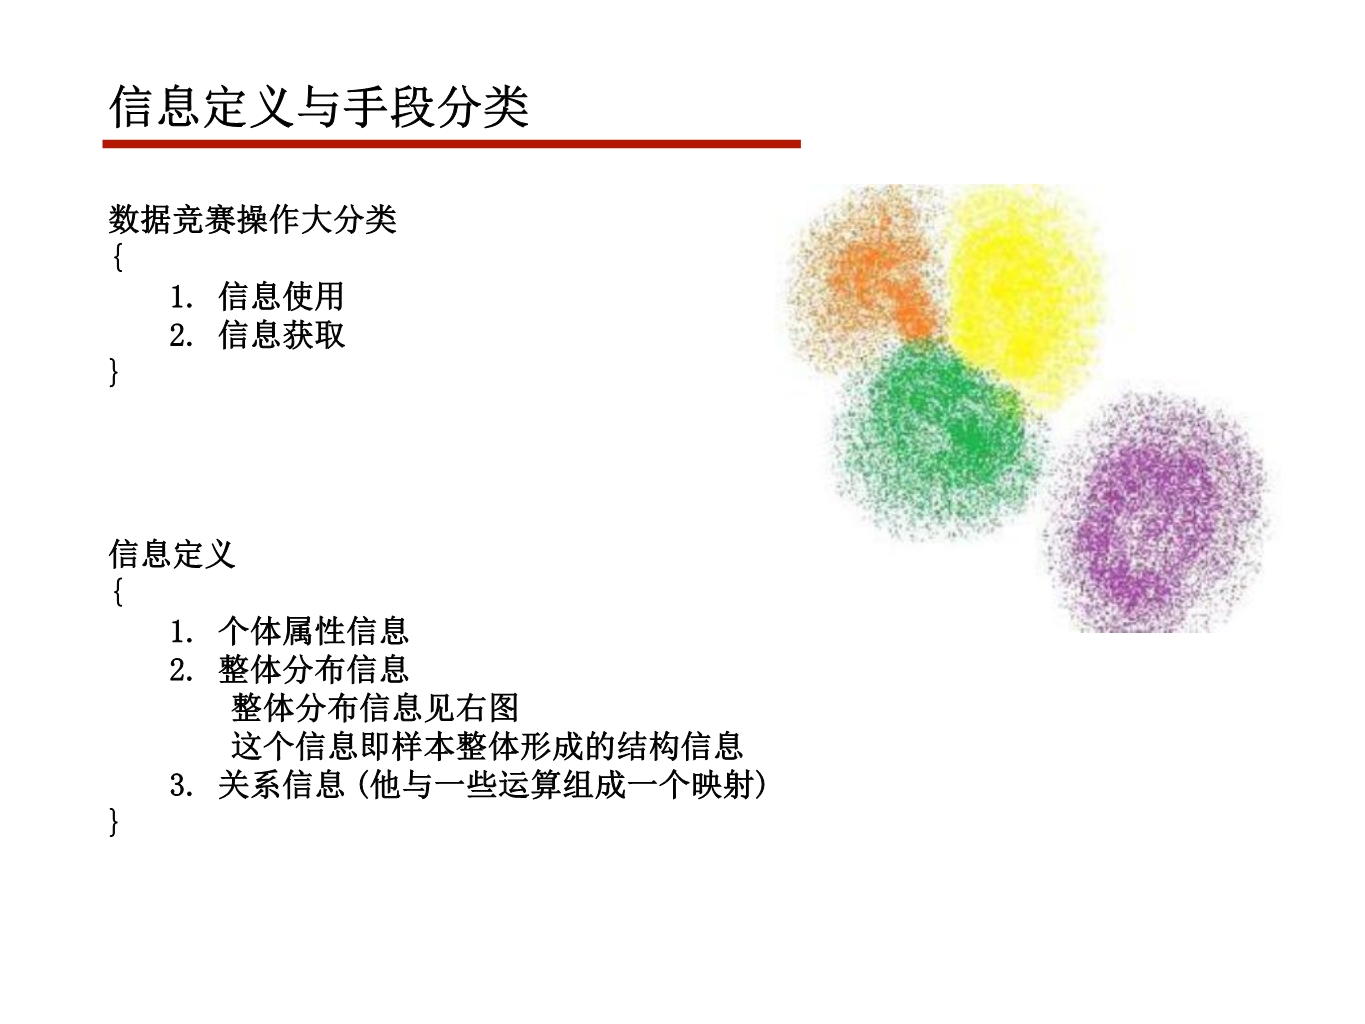
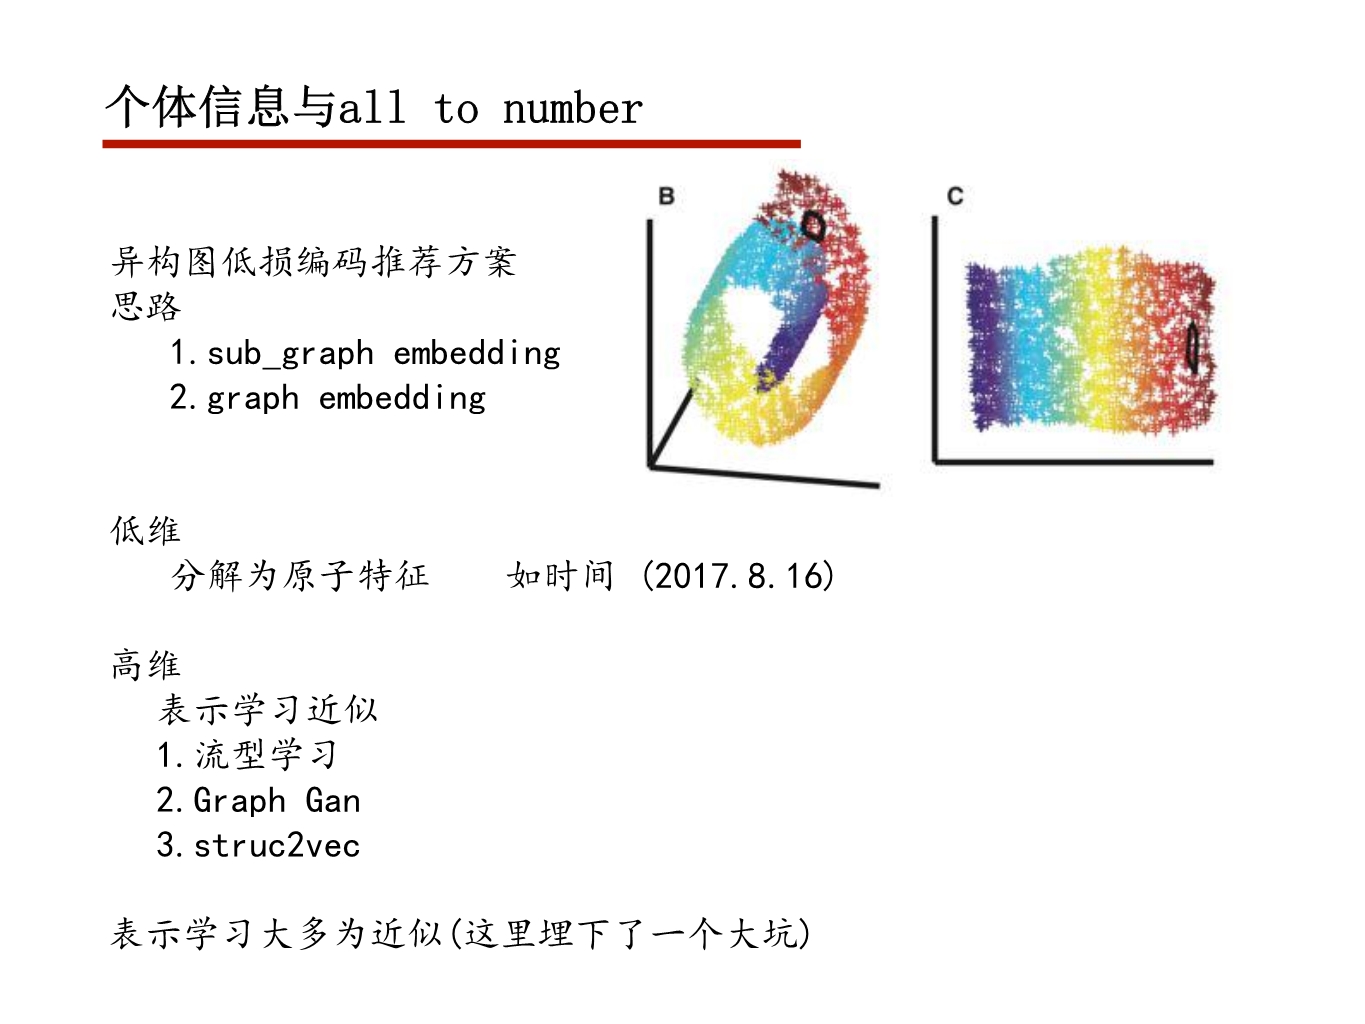
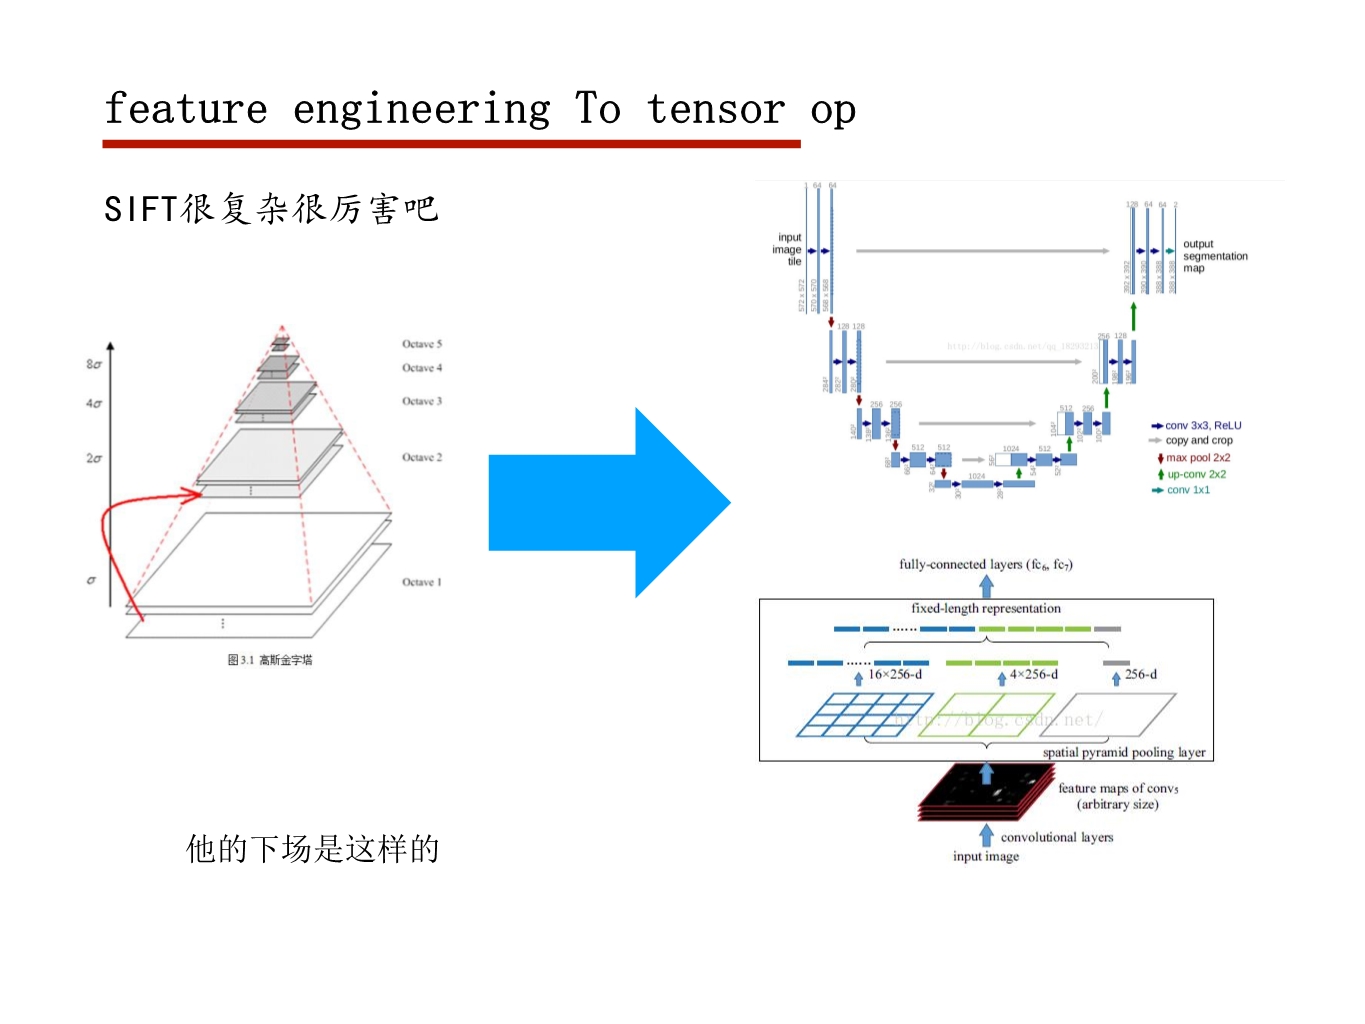
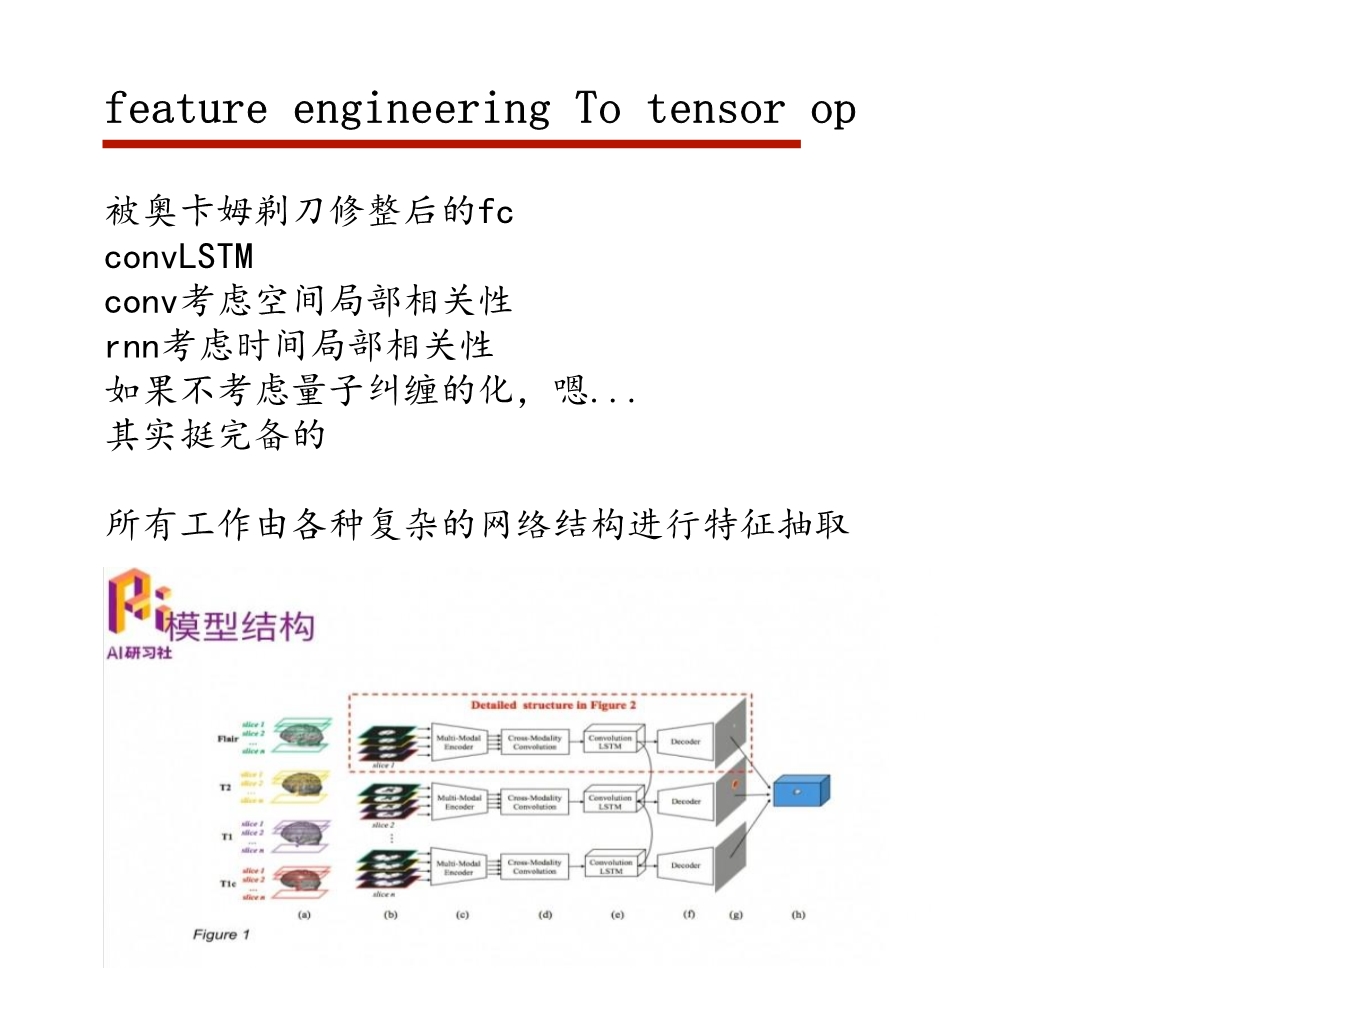
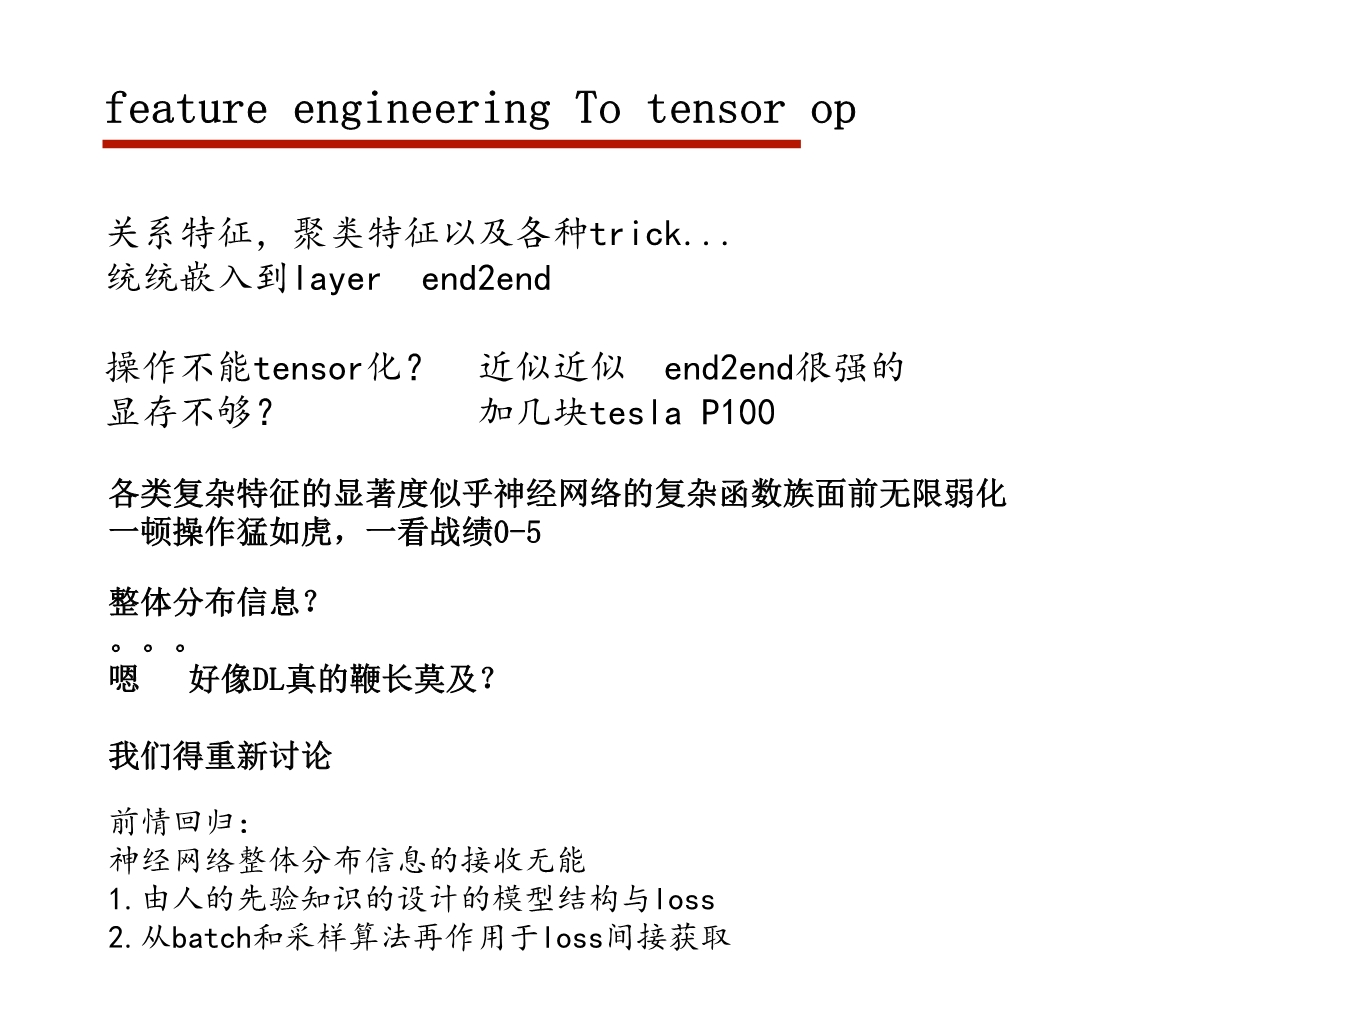
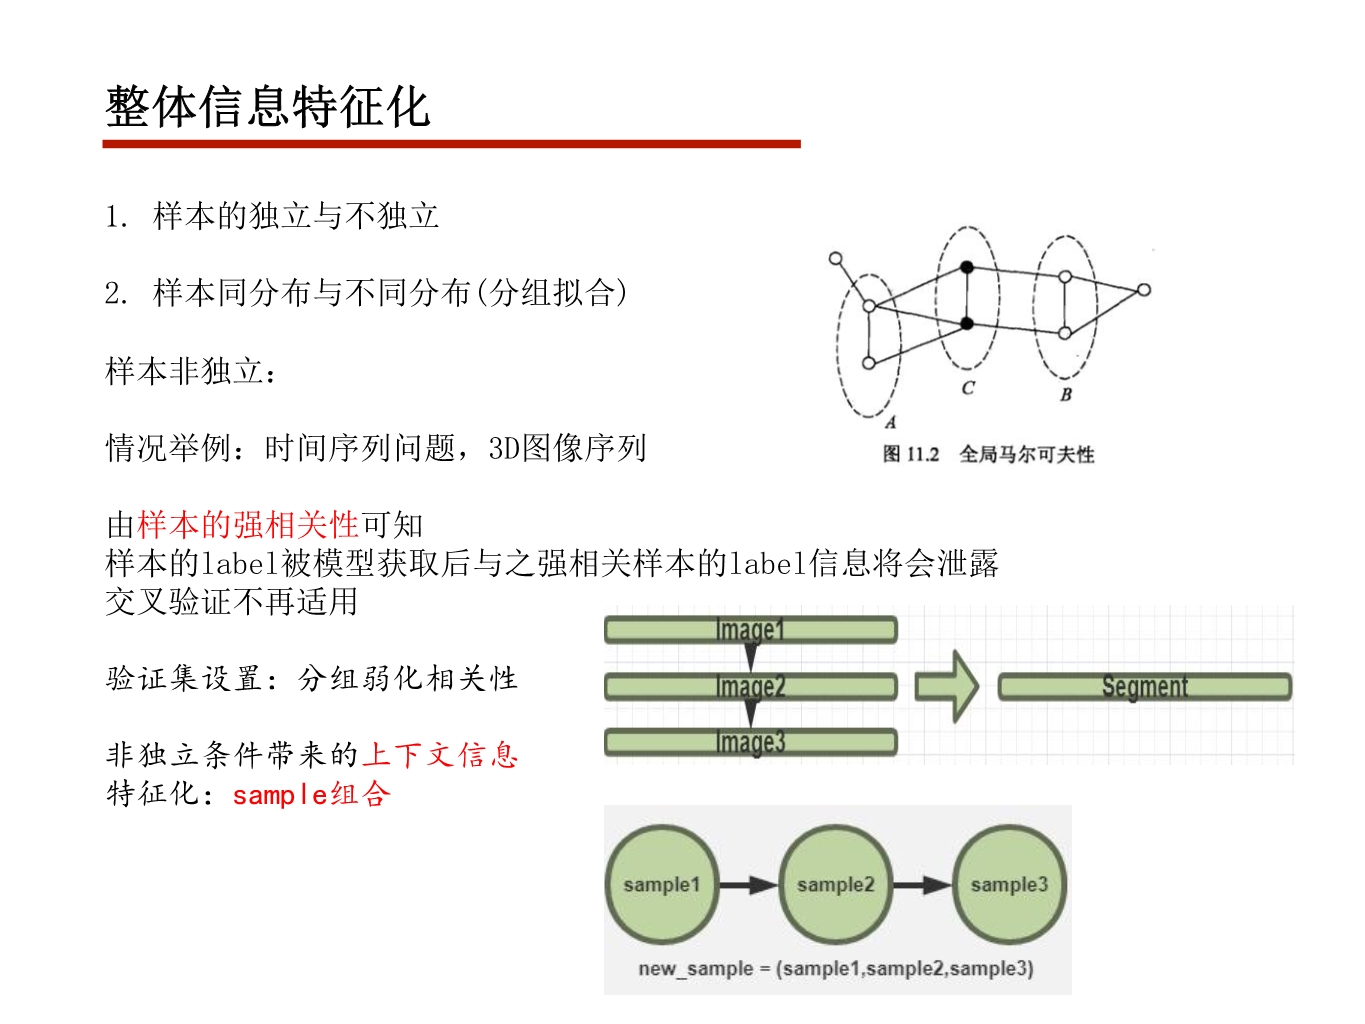
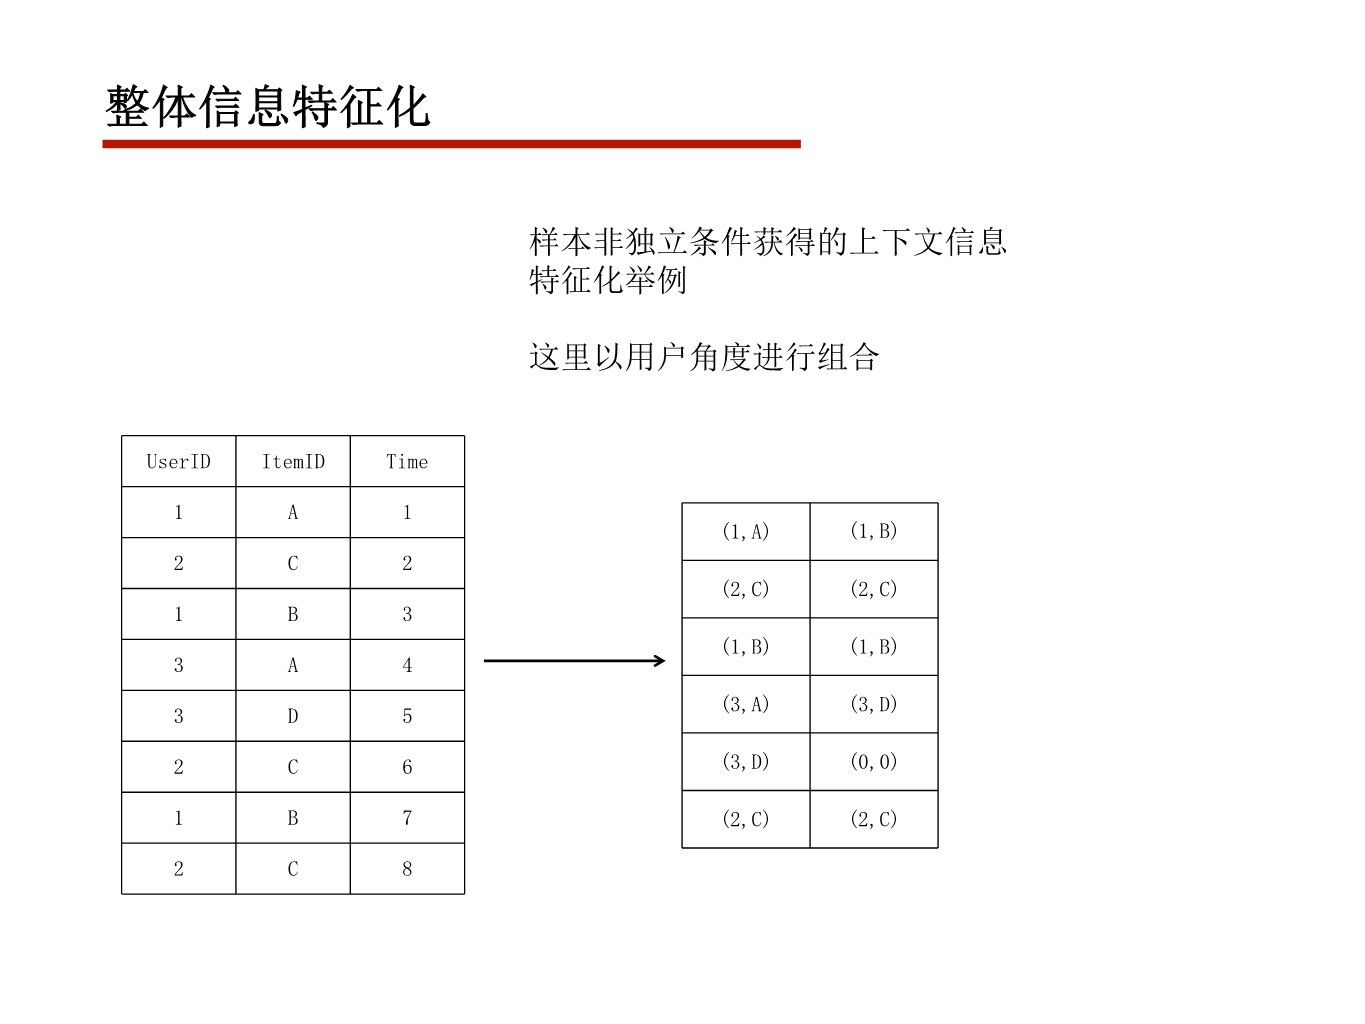
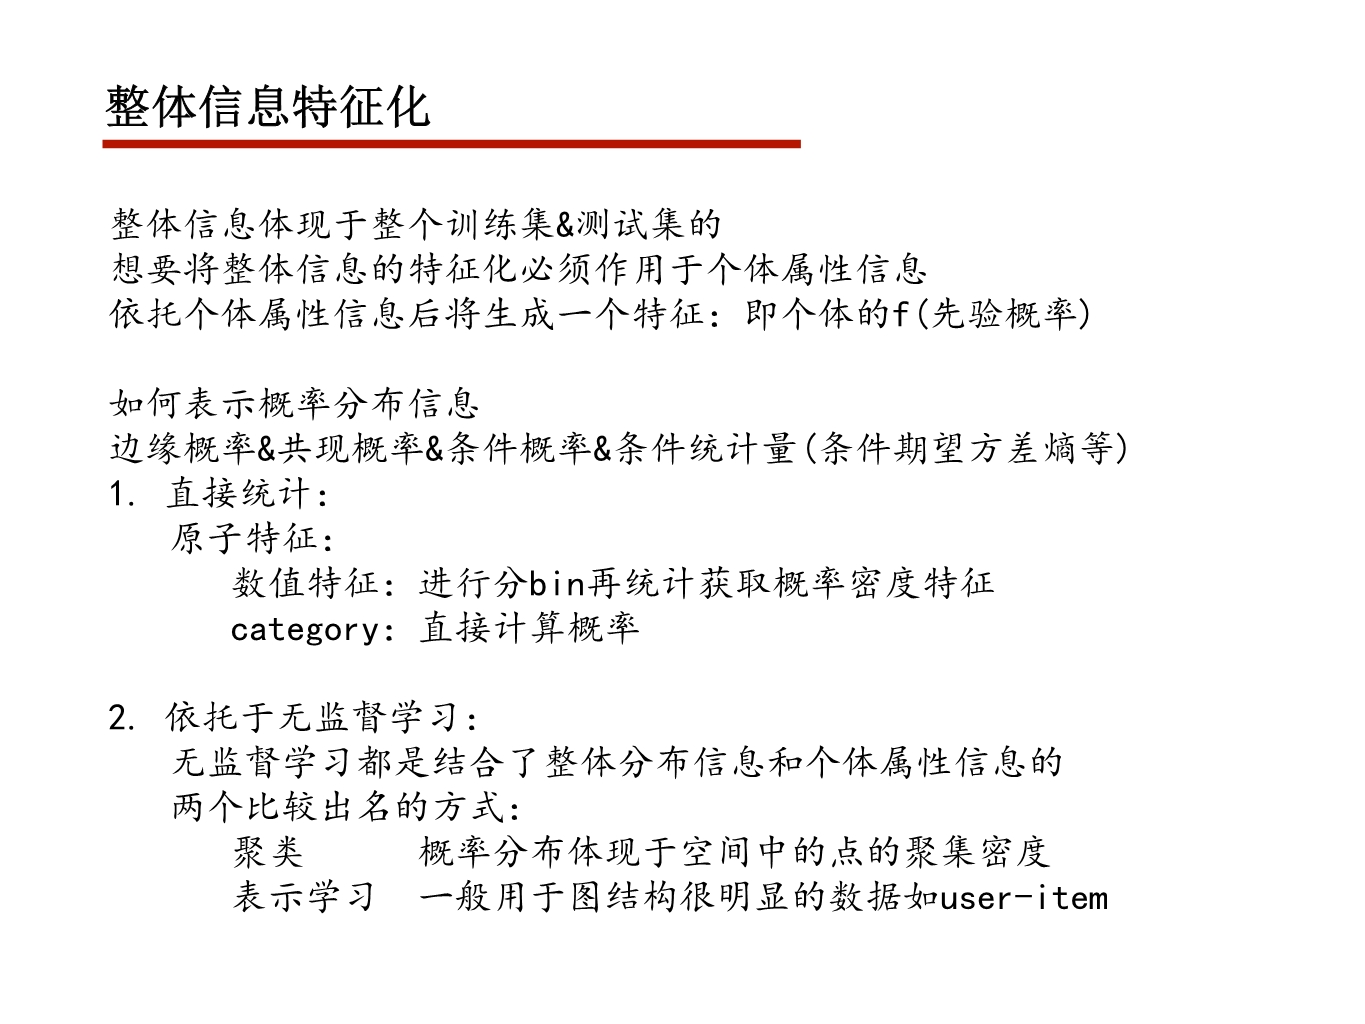
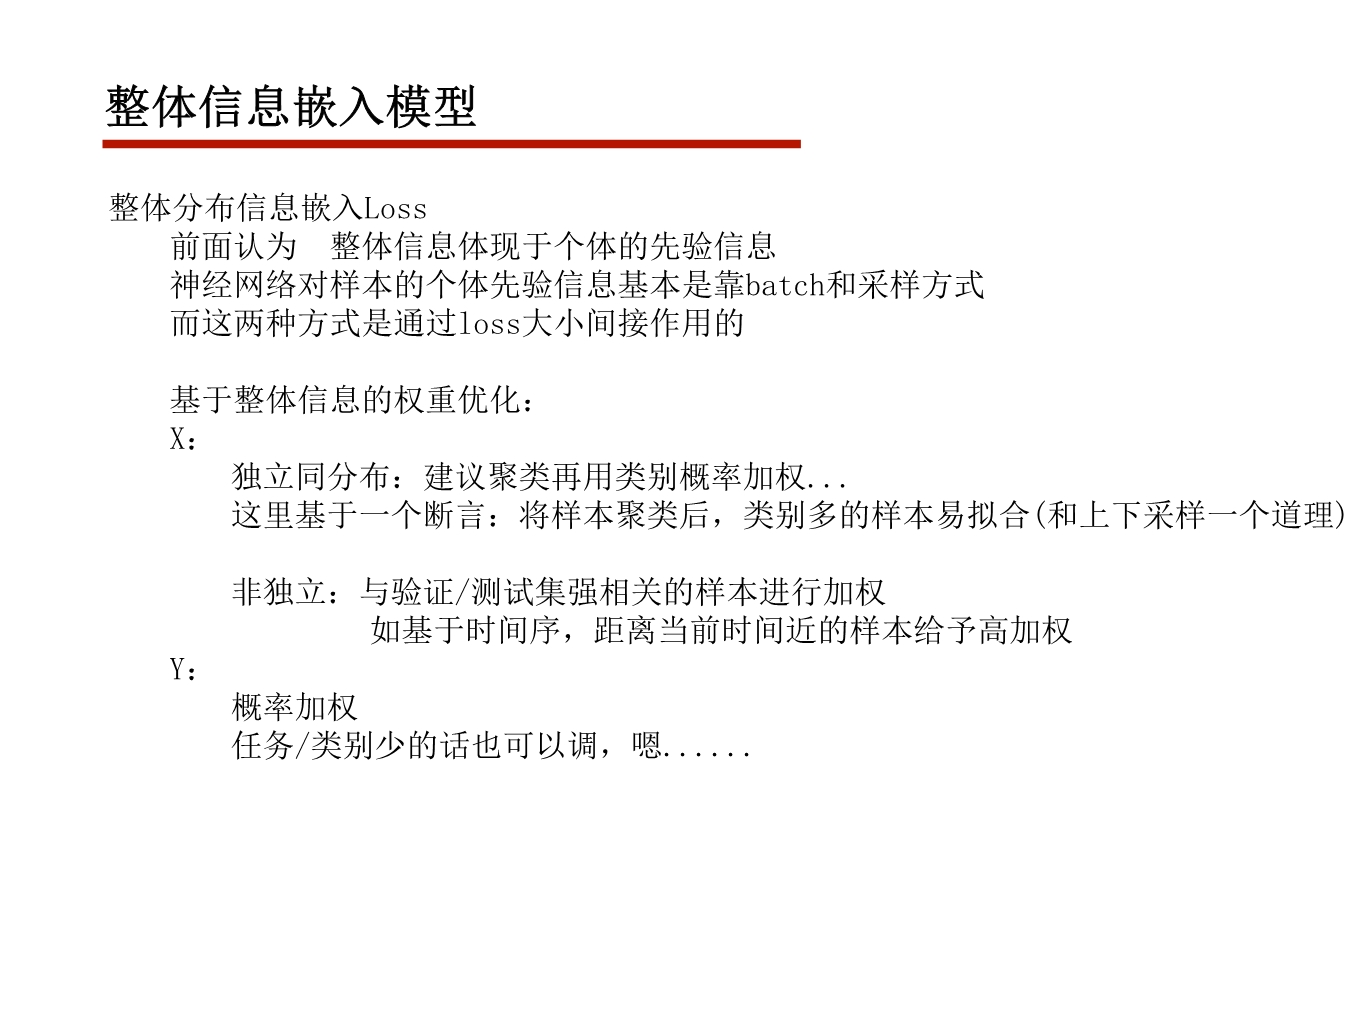
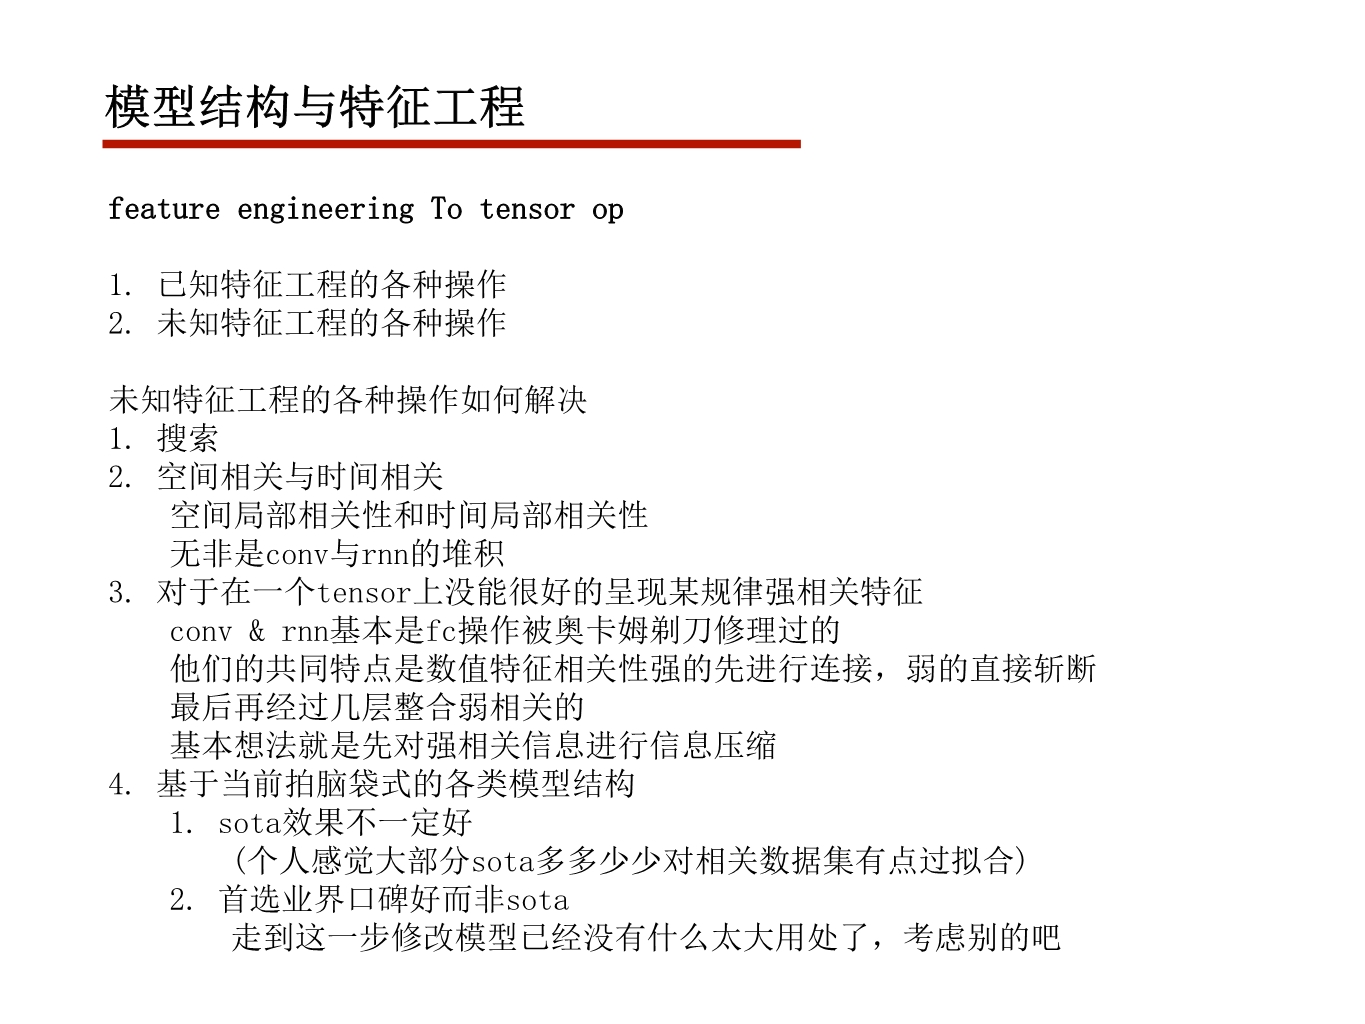
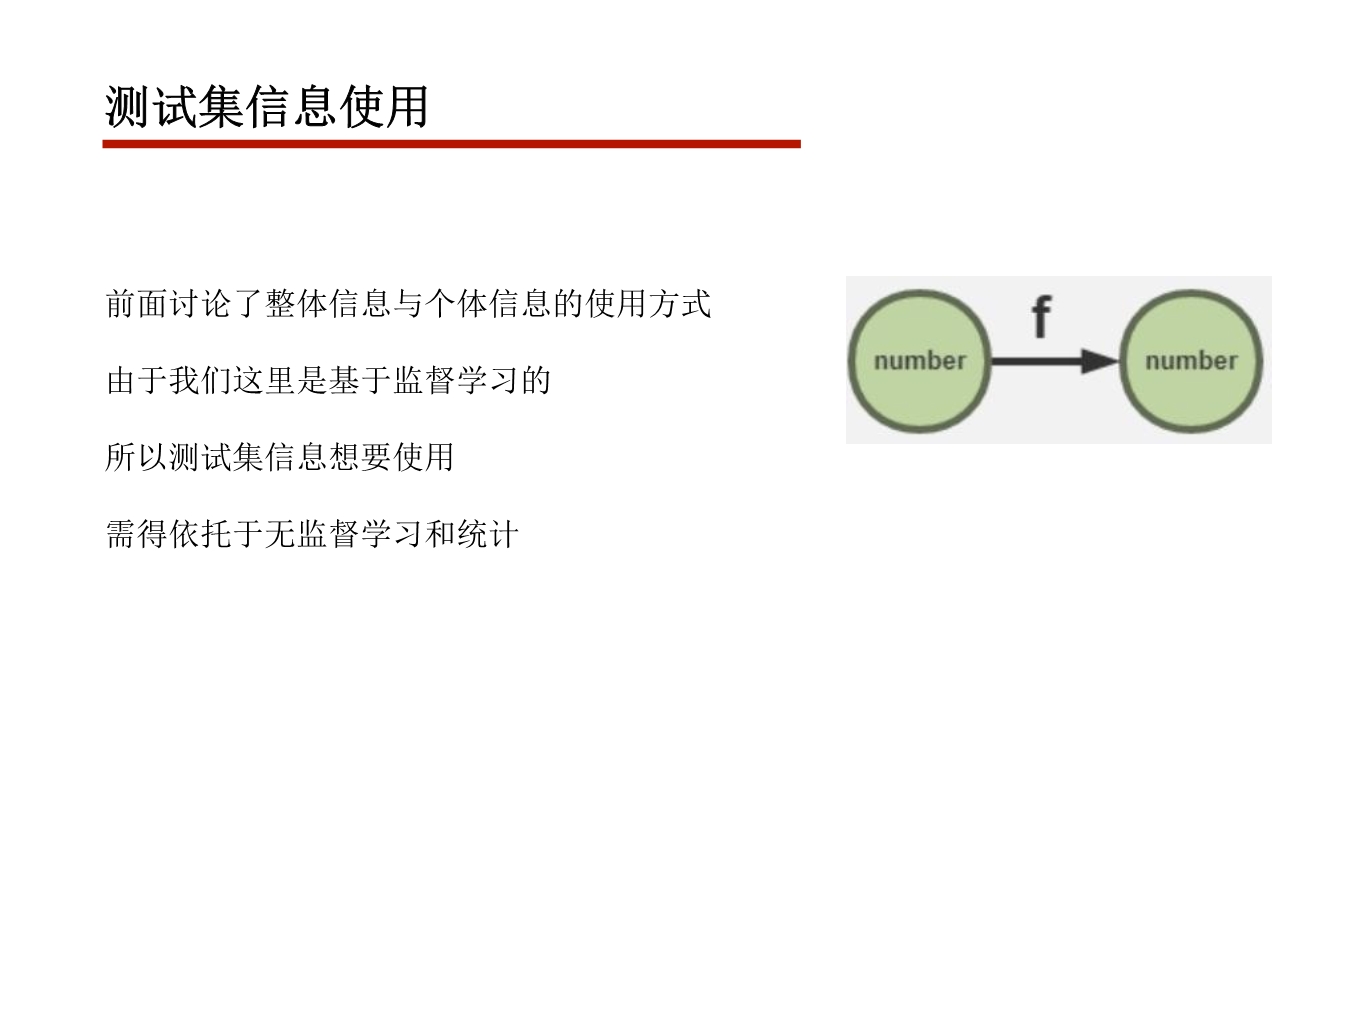
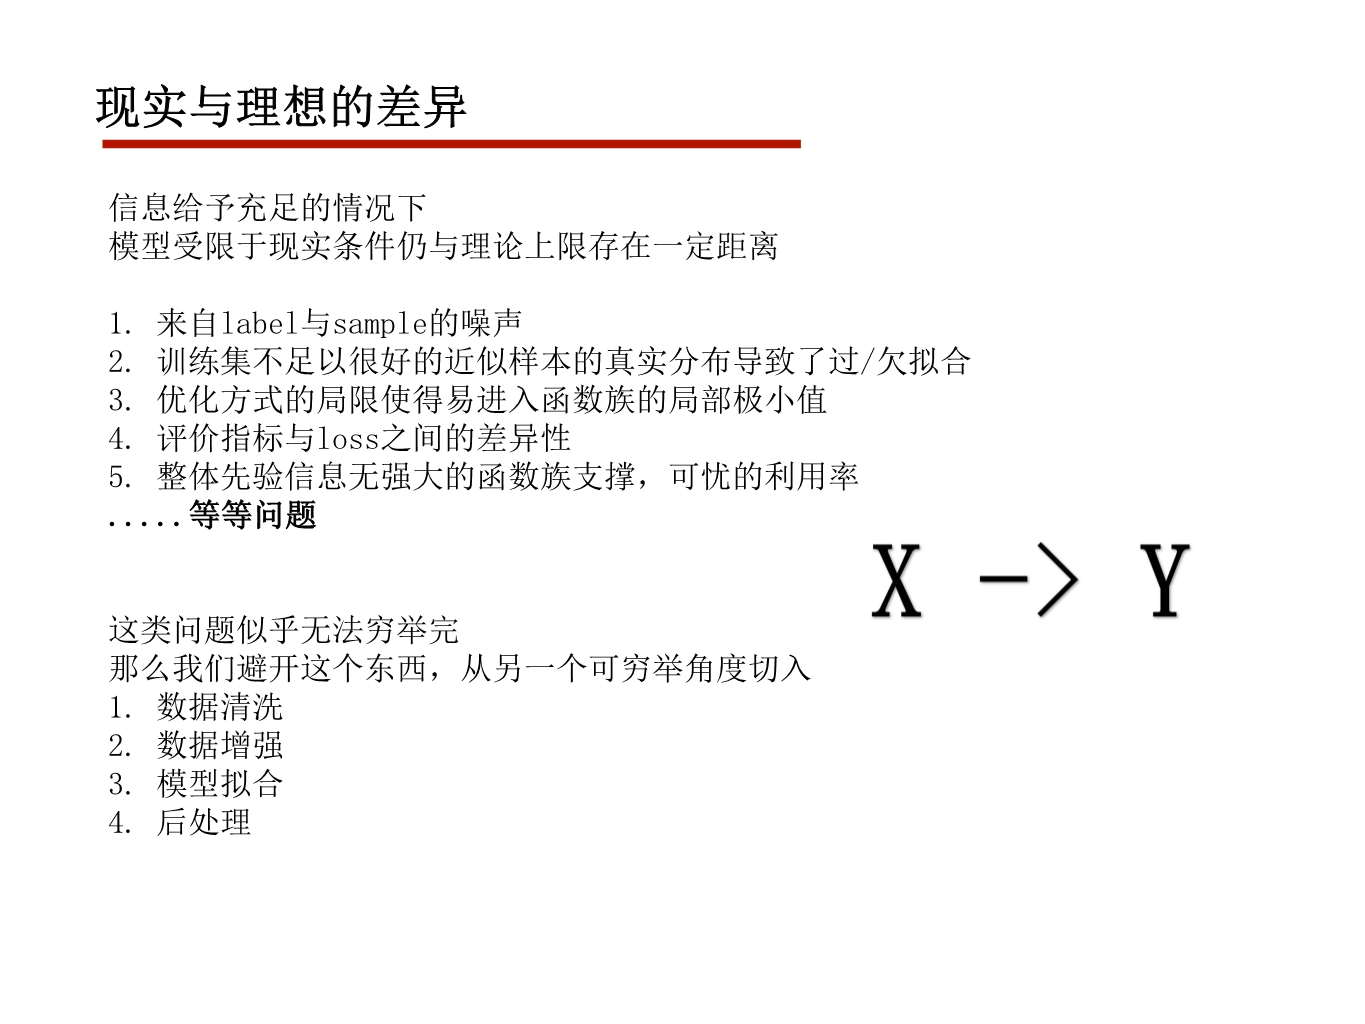
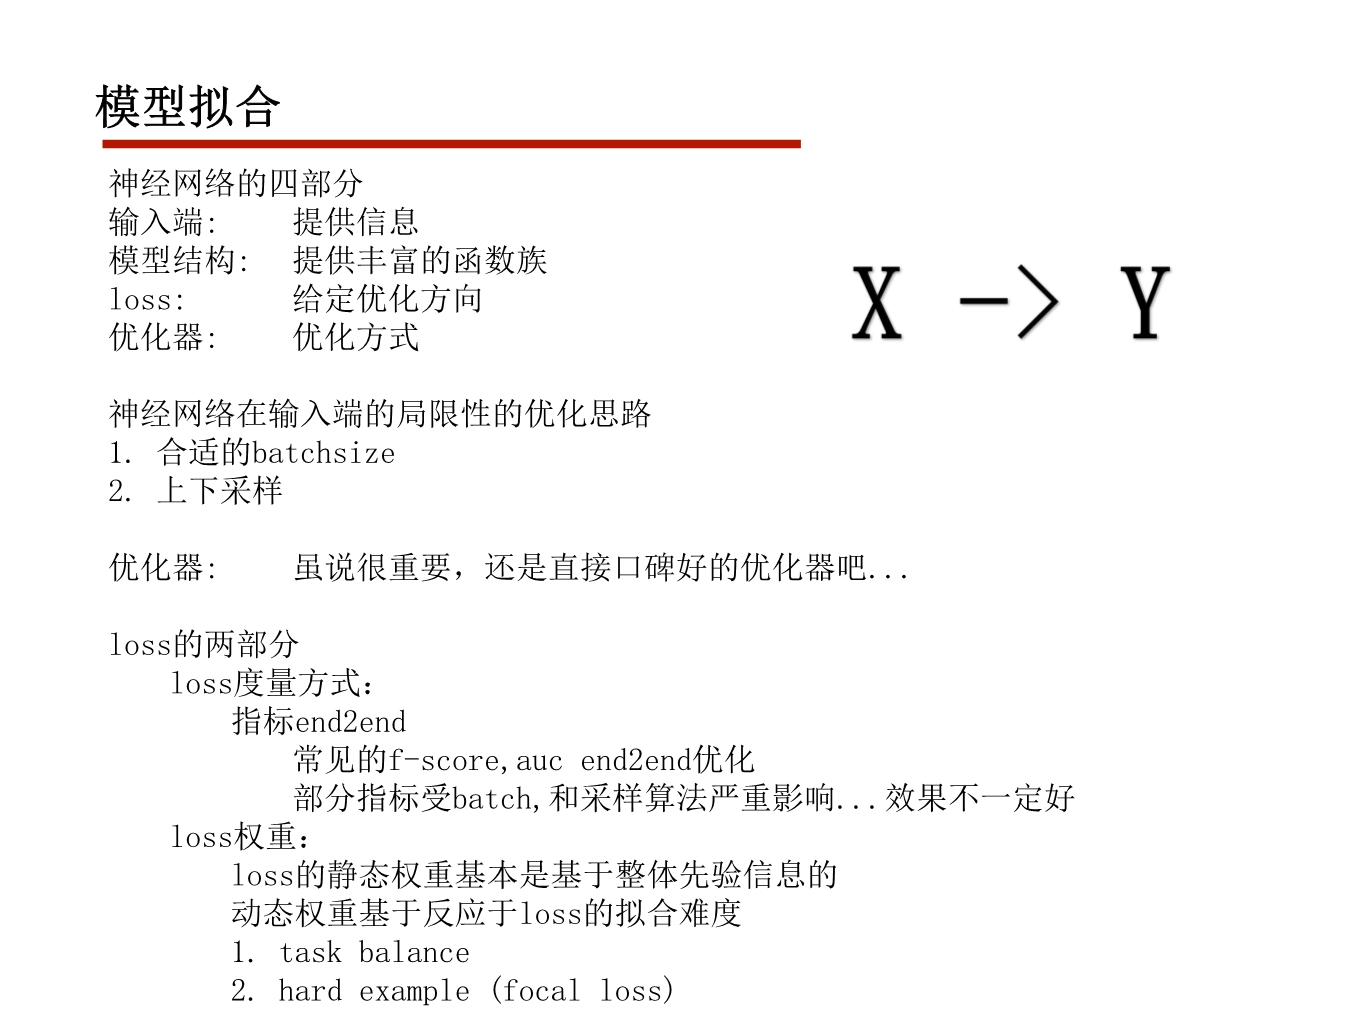
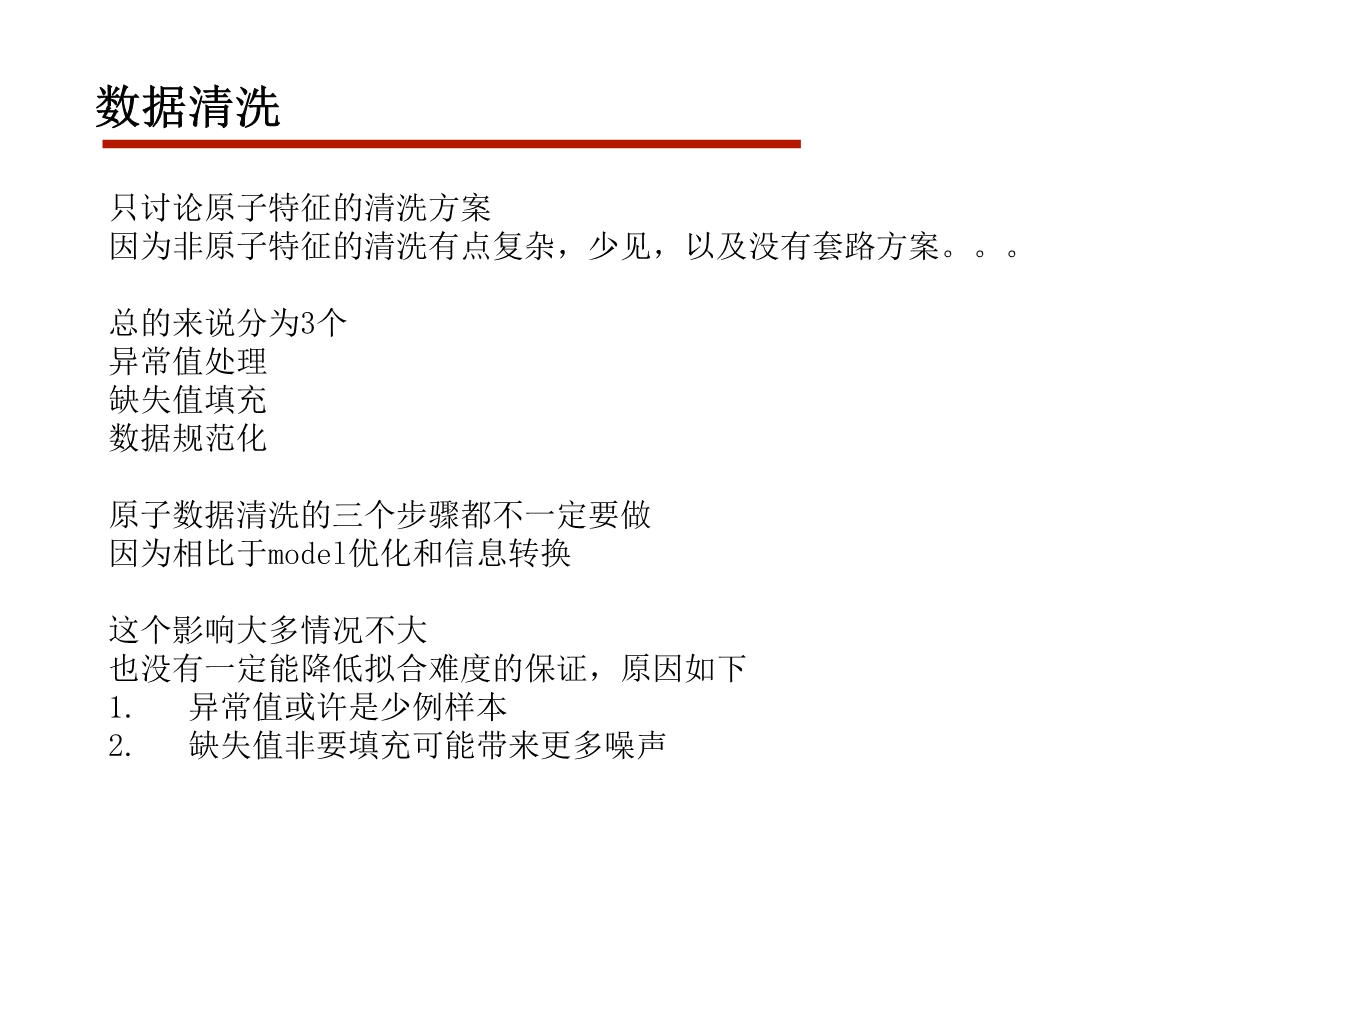
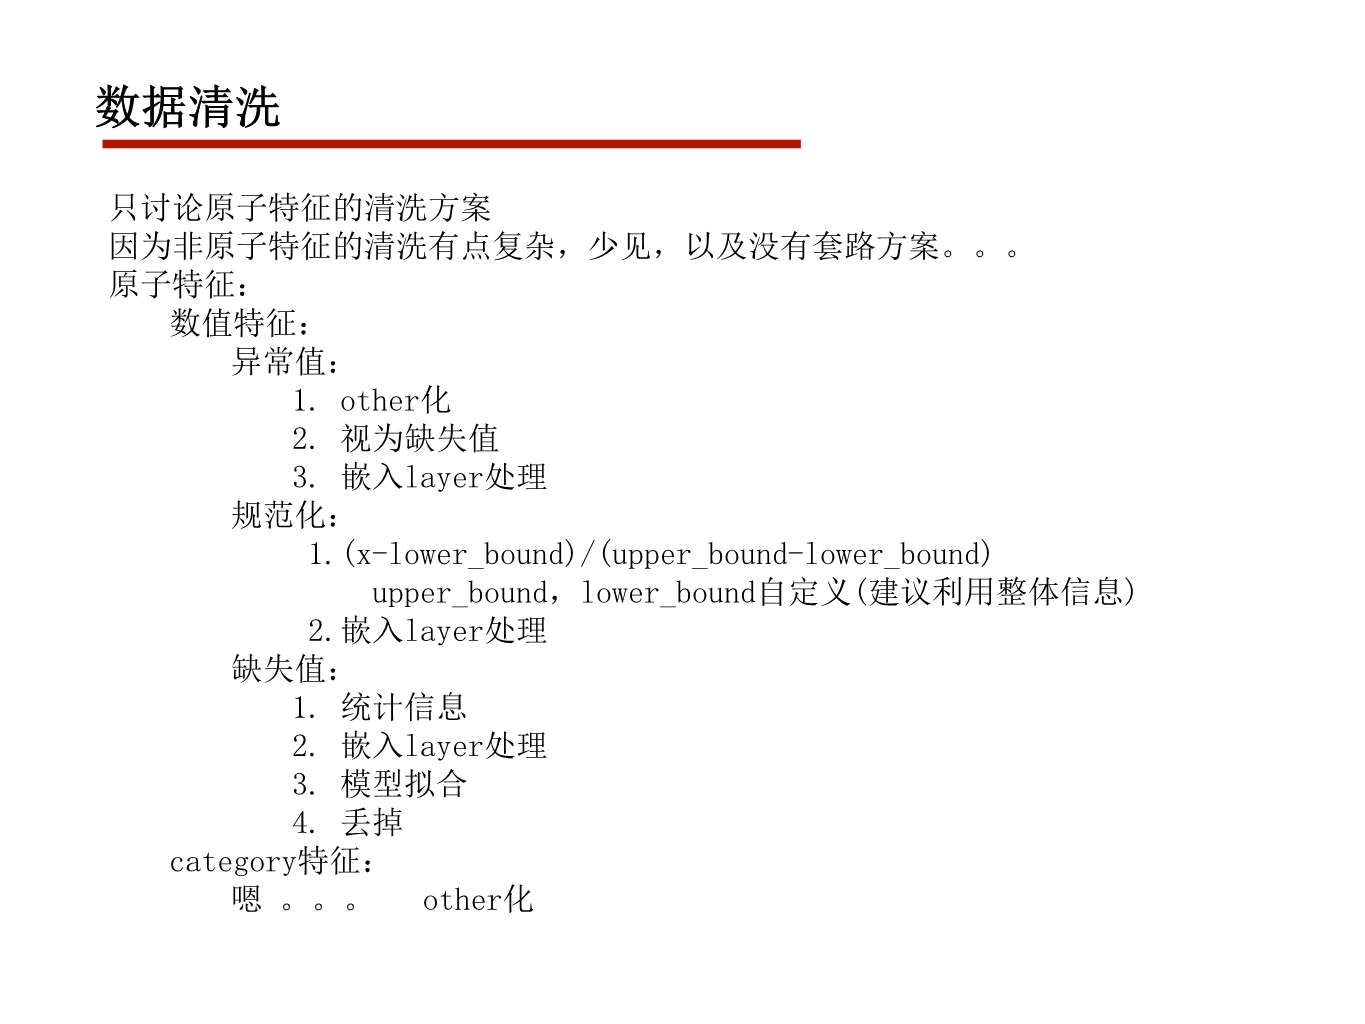
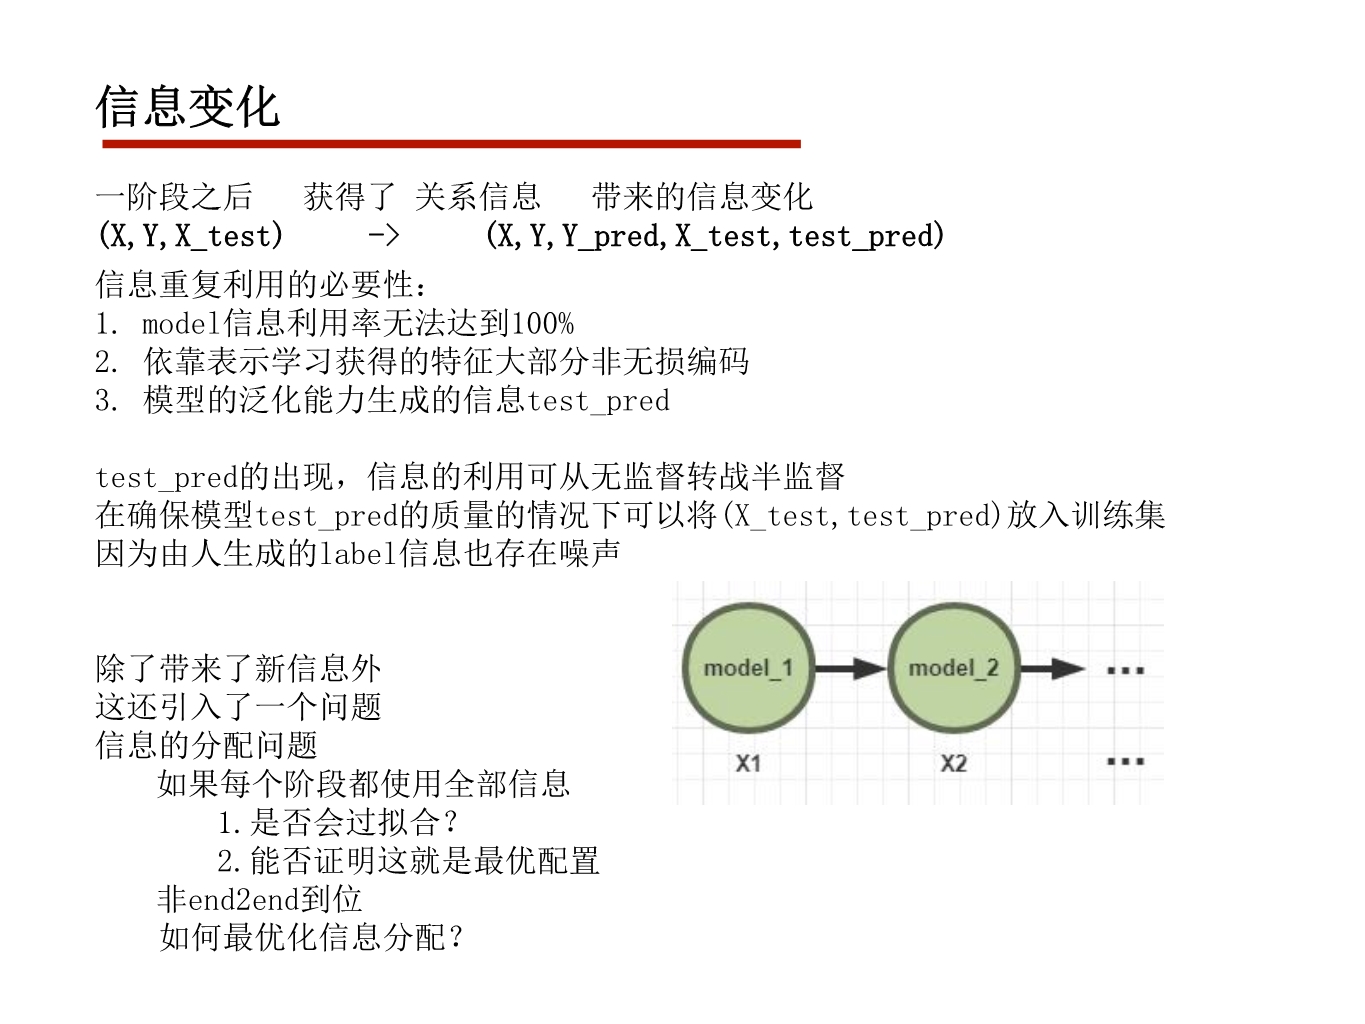
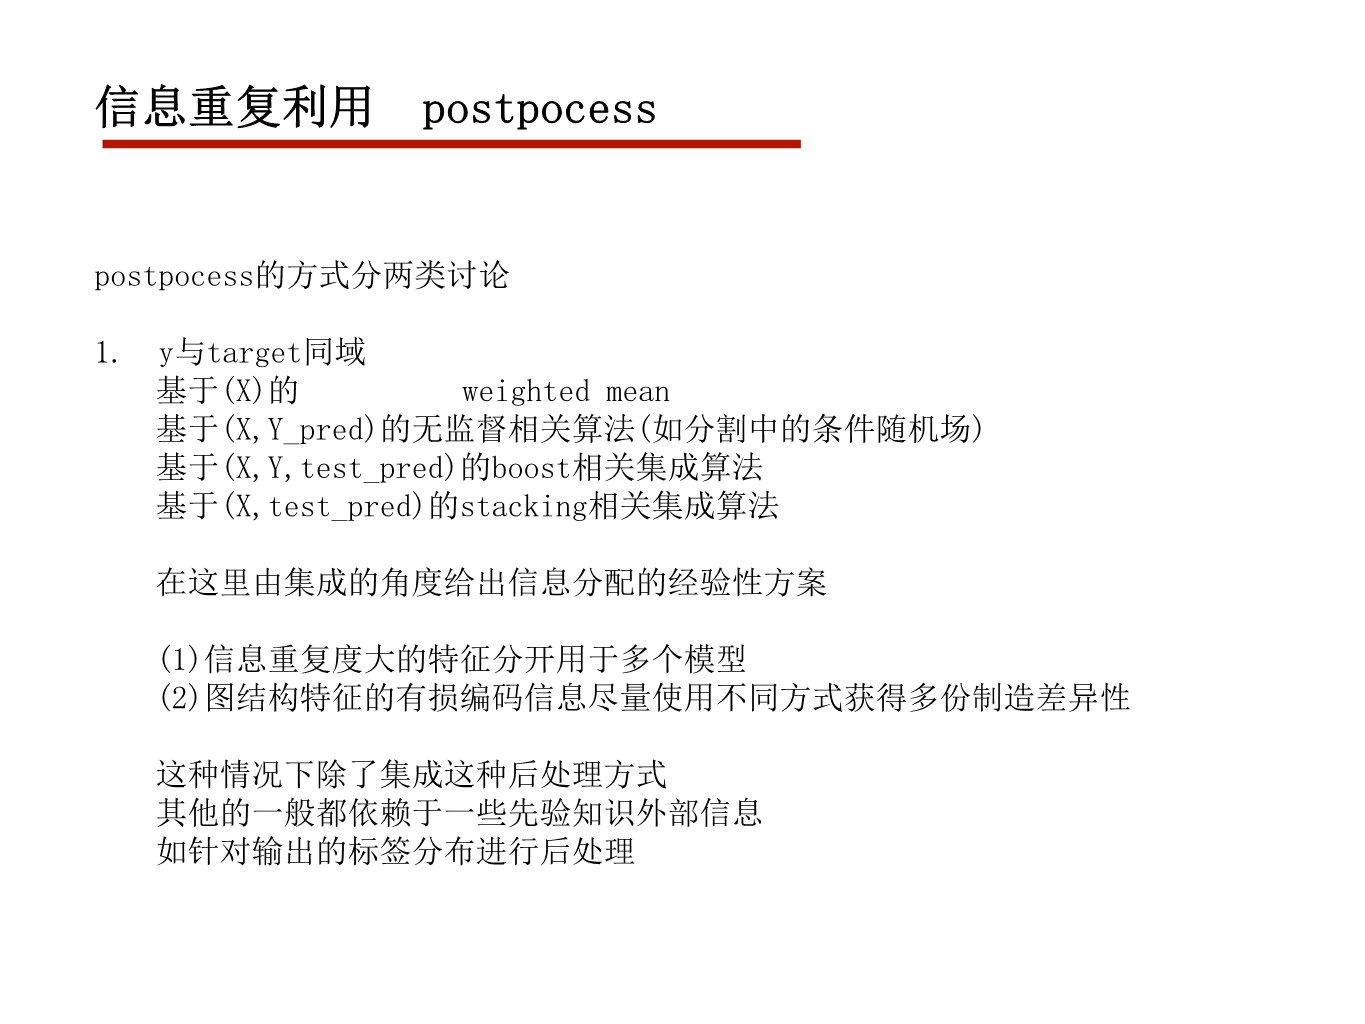
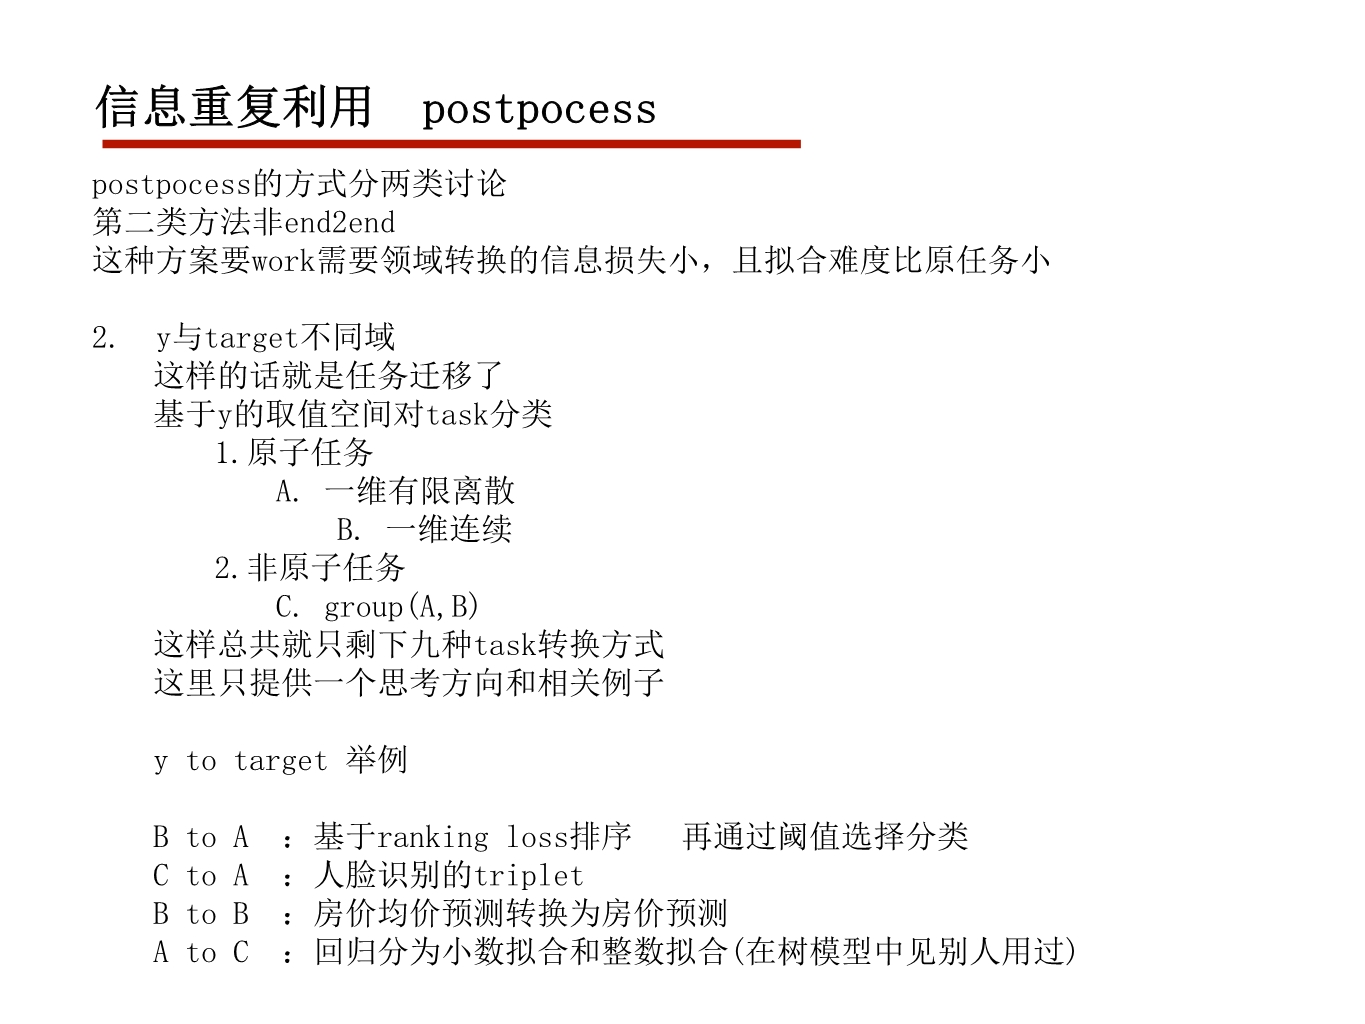
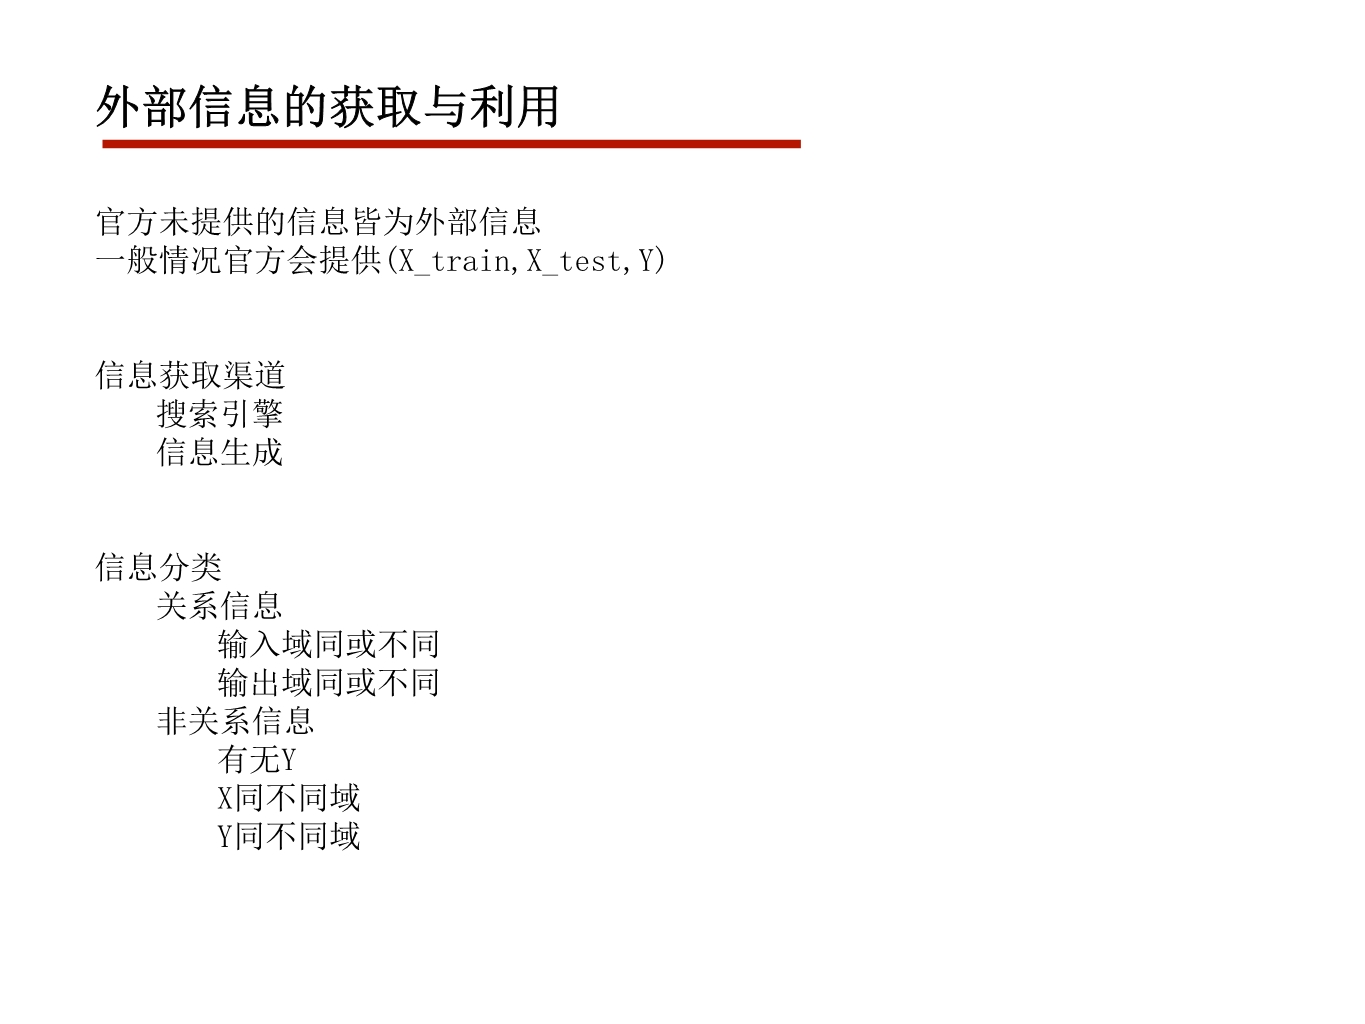
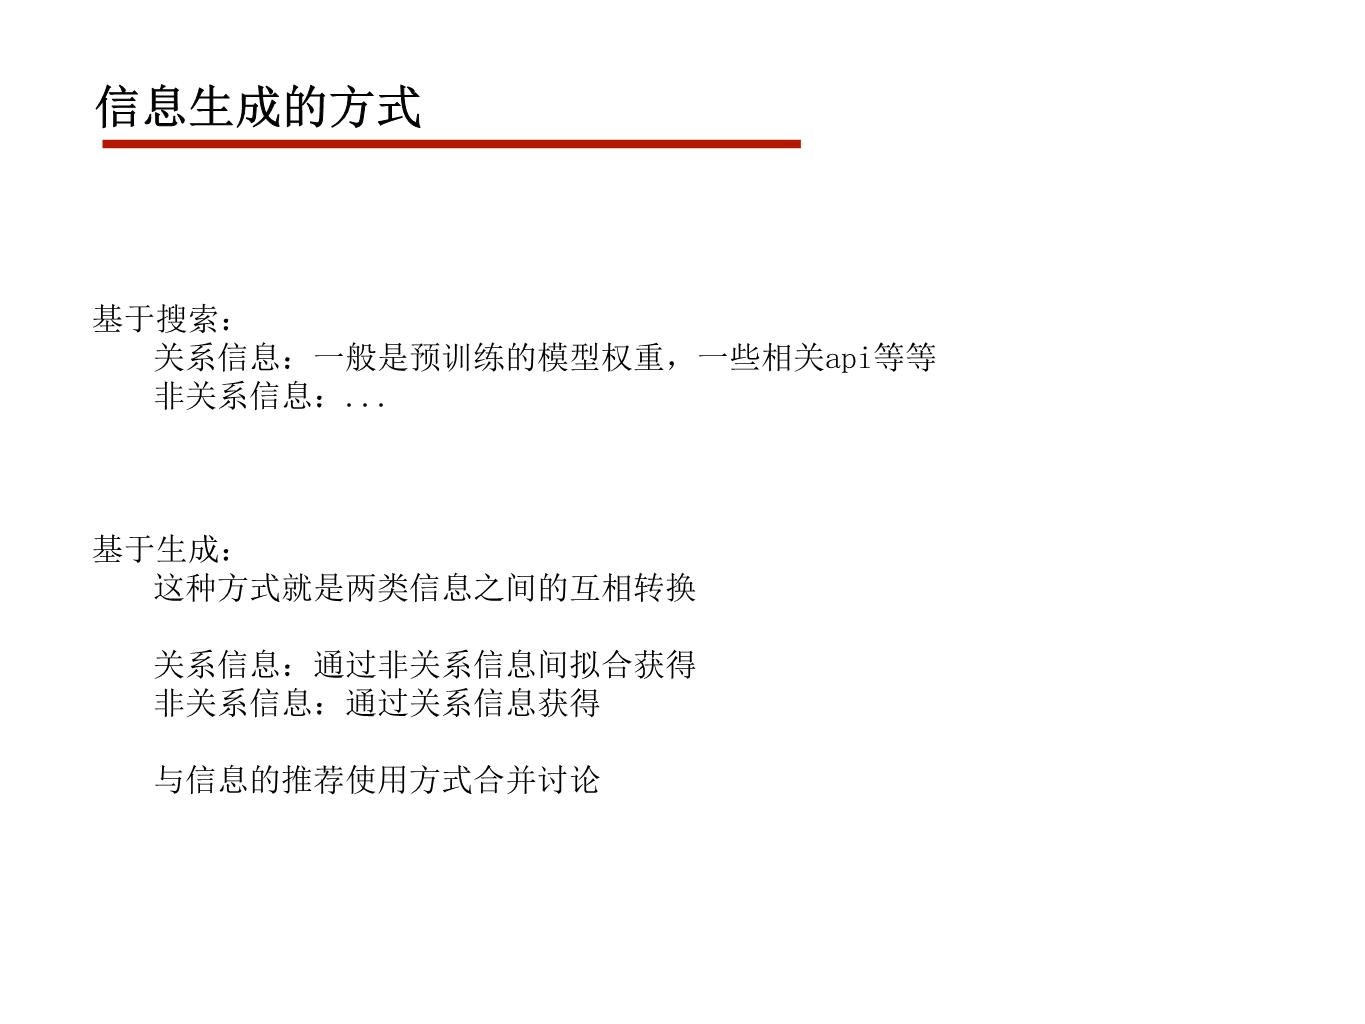
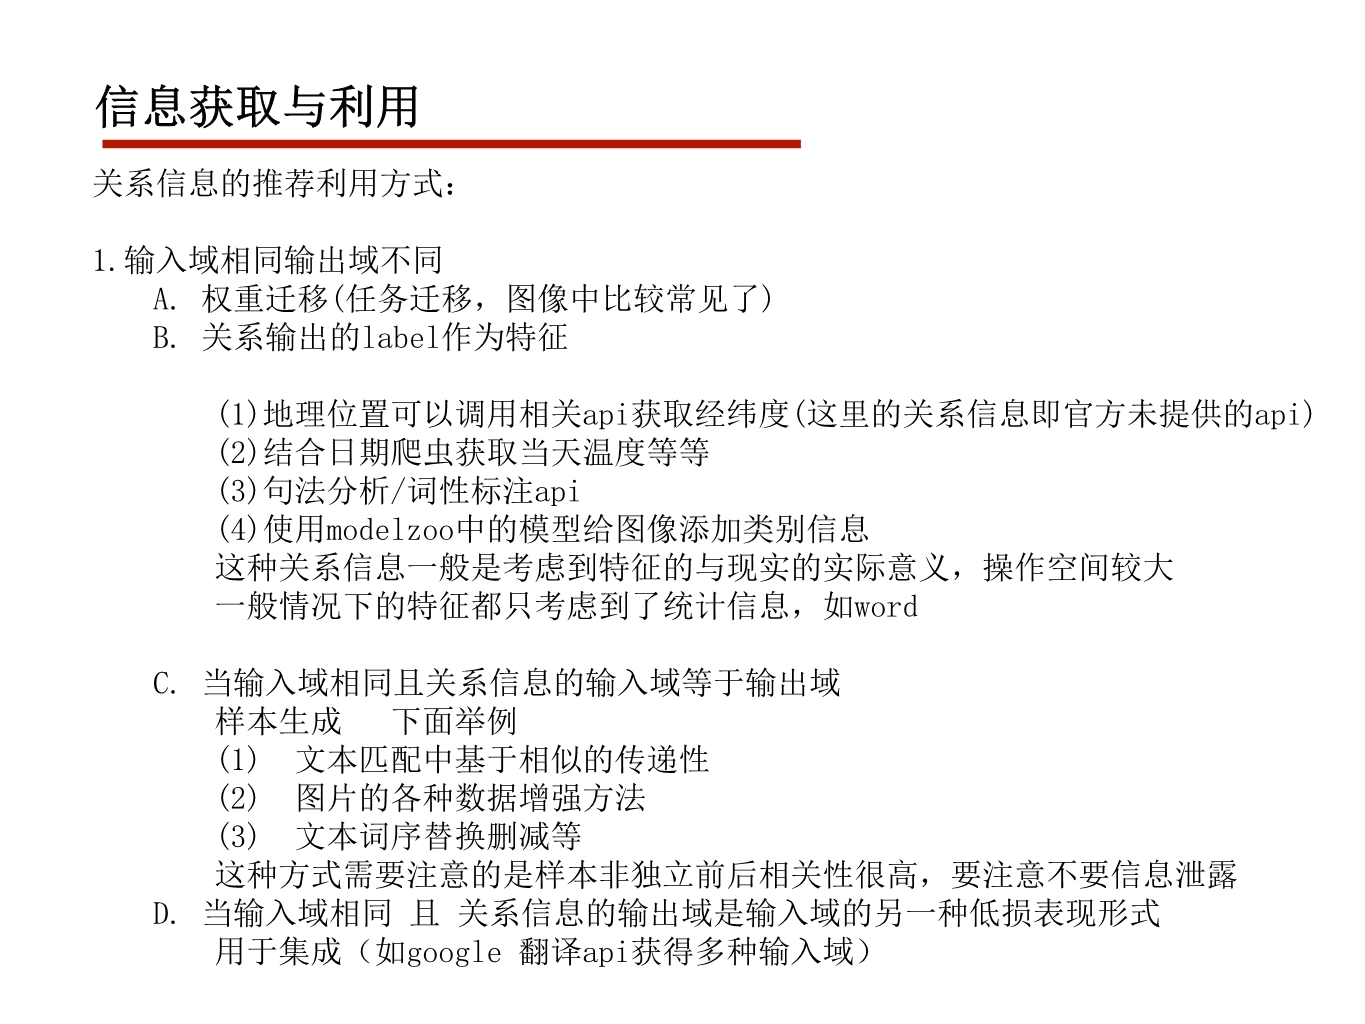
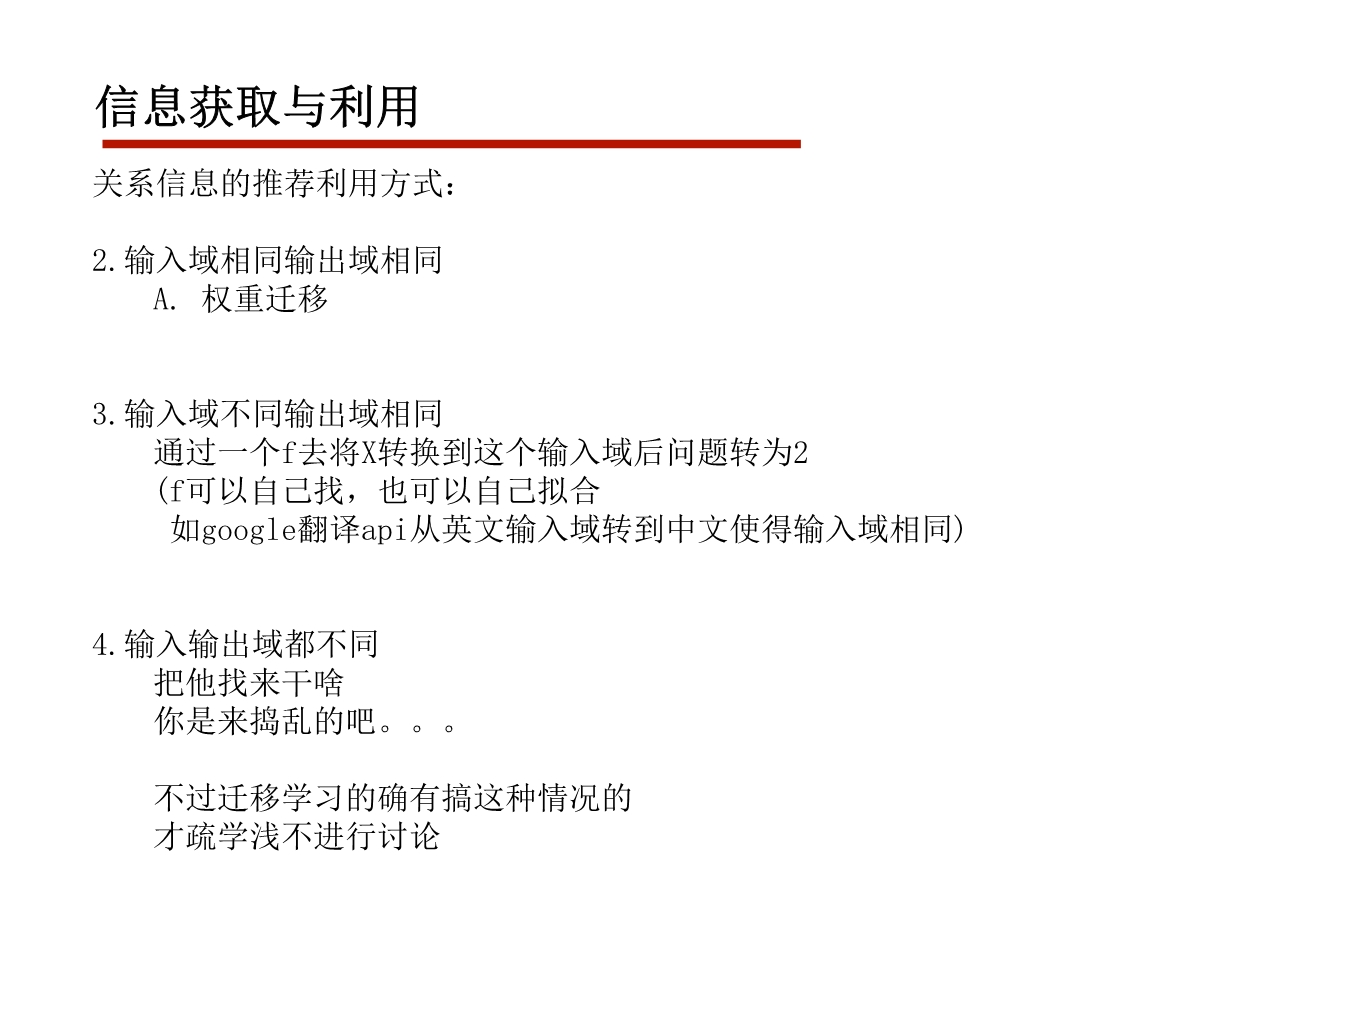
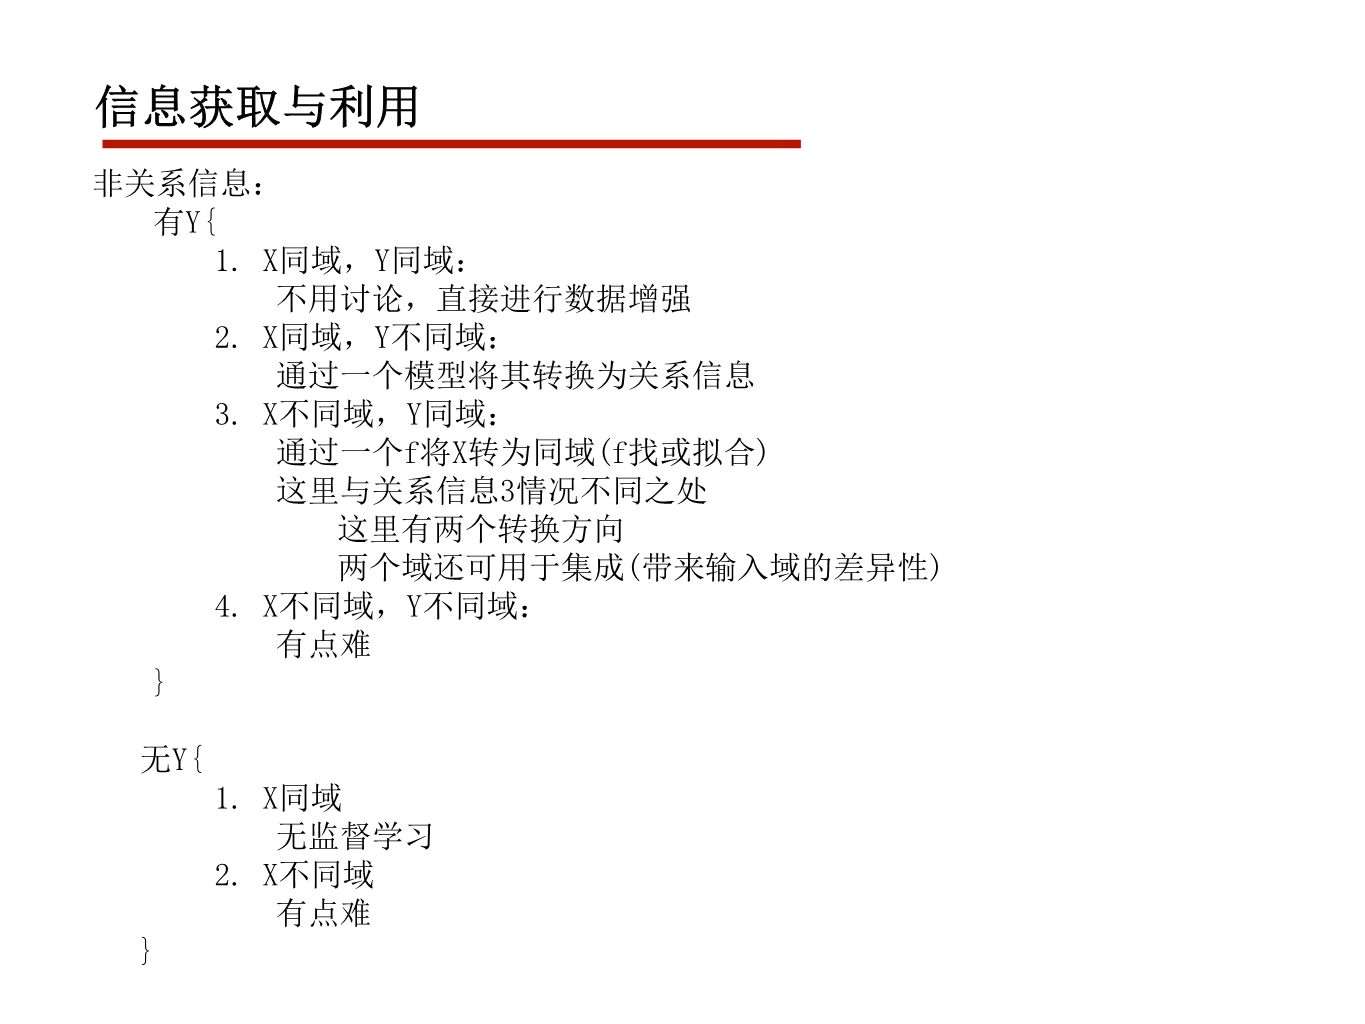
讨论班自己做的PPT
直接拆成图片发到这里了…
才疏学浅
希望看官大佬们能提点意见 指点批评

这里写图片描述
这里写图片描述
这里写图片描述
这里写图片描述
这里写图片描述
这里写图片描述
这里写图片描述
这里写图片描述
这里写图片描述
这里写图片描述
这里写图片描述
这里写图片描述
这里写图片描述
这里写图片描述
这里写图片描述
这里写图片描述
这里写图片描述
这里写图片描述
这里写图片描述
这里写图片描述
这里写图片描述
这里写图片描述
这里写图片描述
这里写图片描述
这里写图片描述
这里写图片描述
这里写图片描述
这里写图片描述
这里写图片描述
这里写图片描述
这里写图片描述
这里写图片描述

Siamese Networks for Object Tracking 温习

发表于 2018-04-25 | 分类于 CV

tensorflow版的code地址
https://github.com/www0wwwjs1/tensorflow-siamese-fc/blob/master/siamese_net.py
由于讨论班的需要
重新分析一下这个tracking模型

整个结构如下图
这里写图片描述

其实可以看到这个模型是很简单的

X是搜索区域,Z是目标图像
其中$\varphi$是DCNN,在代码中是四个简单的conv+batchnorm+relu

其中*操作是相关运算(卷积运算)
即用(6x6x128)作为卷积权重与(22x22x128)的特征图做卷积运算得到得分图
实现了相关滤波的end2end

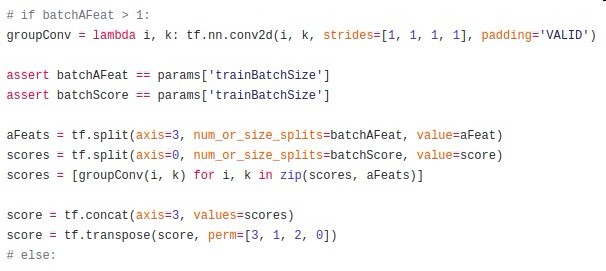
下图便是源码的实现方式
这里写图片描述

scores = [groupConv(i, k) for i, k in zip(scores, aFeats)]
k代表Z
i代表X
他这种实现方式存疑
相关运算与卷积计算位置相反
或许这在end2end的DL中影响不大?

score = 0.001*score + b
不采用tanh/sigmoid或许是因为避免梯度消失

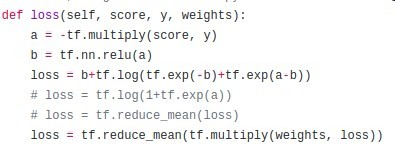
它采用的loss见下图
这里写图片描述
这里写图片描述
这里写图片描述

避免数值溢出的实现方案
这里写图片描述

Thrust简单入门

发表于 2018-04-22 | 分类于 高性能编程

原英文教程地址https://docs.nvidia.com/cuda/thrust/index.html#introduction
将其简单翻译压缩一下

  1. 简单介绍:
    Thrust 是一个类似STL的 CUDA C++ 模板库
    如果装了CUDA的话他不用进一步安装即可使用

  2. thrust提供两个矢量容器
    host_vector 和 device_vector。
    host_vector 存储在主机内存中
    device_vector居住在GPU设备内存中。
    类似于stl::vector

    #include <thrust/host_vector.h>
    #include <thrust/device_vector.h>
    #include <iostream>
    
    int main(void)
    {
        // H存储了四个整数
        thrust::host_vector<int> H(4);
    
        // 初始化
        H[0] = 14;
        H[1] = 20;
        H[2] = 38;
        H[3] = 46;
    
        // 返回数组长度
        std::cout << "H has size " << H.size() << std::endl;
    
        // 打印内容
        for(int i = 0; i < H.size(); i++)
            std::cout << "H[" << i << "] = " << H[i] << std::endl;
    
        // 改变大小
        H.resize(2);
    
        std::cout << "H now has size " << H.size() << std::endl;
    
        // 内存到显存的数据拷贝
        thrust::device_vector<int> D = H;
    
        // 修改内容
        D[0] = 99;
        D[1] = 88;
    
        // 打印D的内容
        for(int i = 0; i < D.size(); i++)
            std::cout << "D[" << i << "] = " << D[i] << std::endl;
    
        // 函数返回时,H,D的资源会自动释放
        return 0;
    }
    

这个例子说了 “=”可以用于显存上的数组与内存上的数组内容互相拷贝
还要注意一个单独的元素device_vector可以使用标准括号表示来访问。但是,因为每个访问都需要呼叫cudaMemcpy,他们应该谨慎使用。稍后会给出一些更高效的方式。

将矢量的所有元素初始化为特定值或将一组特定值从一个矢量复制到另一个矢量通常很有用。推力提供了几种方法来完成这些操作。

#include <thrust/host_vector.h>
#include <thrust/device_vector.h>

#include <thrust/copy.h>
#include <thrust/fill.h>
#include <thrust/sequence.h>

#include <iostream>

int main(void)
{
    // 将数组初始化为1
    thrust::device_vector<int> D(10, 1);

    // 用9设置D的前7个元素
    thrust::fill(D.begin(), D.begin() + 7, 9);

    // 用D的前五个元素初始化H
    thrust::host_vector<int> H(D.begin(), D.begin() + 5);

    // 将 H 元素修改为 0, 1, 2, 3, ...
    thrust::sequence(H.begin(), H.end());

    // 拷贝H的元素到D
    thrust::copy(H.begin(), H.end(), D.begin());

    // 打印D
    for(int i = 0; i < D.size(); i++)
        std::cout << "D[" << i << "] = " << D[i] << std::endl;

    return 0;
}

这里我们已经介绍了 fill, copy,和 sequence的使用方式。

2.1
  在这里我们需要注意命名冲突,命名空间的使用是很重要的

2.2
  上面的迭代器与一般的指针和迭代器不同的是他们携带了 他们是用于内存/显存的信息
  这决定了算法的调用是使用何种实现
  这种类型的判断是在编译的时候进行的,这被称为static dispatching(静态调用)

如果使用原生指针去调用thrust的算法,会默认调用host版
如果原生指针使用的是显存,那么需要先用thrust::device_ptr进行封装

size_t N = 10;

// 原生指针指向显存
int * raw_ptr;
cudaMalloc((void **) &raw_ptr, N * sizeof(int));

// 用 device_ptr 封装原生指针
thrust::device_ptr<int> dev_ptr(raw_ptr);

thrust::fill(dev_ptr, dev_ptr + N, (int) 0);

device_ptr转换为原生指针:

size_t N = 10;

thrust::device_ptr<int> dev_ptr = thrust::device_malloc<int>(N);

int * raw_ptr = thrust::raw_pointer_cast(dev_ptr);

区分迭代器与原生指针的另一个原因是可以用于遍历多种数据结构
如std::list
虽然thrust没有提供这种容器的实现,但兼容他们

#include <thrust/device_vector.h>
#include <thrust/copy.h>
#include <list>
#include <vector>

int main(void)
{
    // create an STL list with 4 values
    std::list<int> stl_list;

    stl_list.push_back(10);
    stl_list.push_back(20);
    stl_list.push_back(30);
    stl_list.push_back(40);

    // initialize a device_vector with the list
    thrust::device_vector<int> D(stl_list.begin(), stl_list.end());

    // copy a device_vector into an STL vector
    std::vector<int> stl_vector(D.size());
    thrust::copy(D.begin(), D.end(), stl_vector.begin());

    return 0;
}

3.算法
thrust提供了很多公用的并行算法
thrust中的所有算法都有device和host两种实现
除了thrust:copy之外,其他的算法的迭代器参数理应位于同一个位置(显存or内存),不能混用
如果违反,编译器将报错

3.1 Transformations
下面展示了一些算法以及仿函数的使用
除了下面展示的negate,modulus,thrust
还提供了plus and multiplies等多种仿函数在thrust/functional.h

#include <thrust/device_vector.h>
#include <thrust/transform.h>
#include <thrust/sequence.h>
#include <thrust/copy.h>
#include <thrust/fill.h>
#include <thrust/replace.h>
#include <thrust/functional.h>
#include <iostream>

int main(void)
{
    // allocate three device_vectors with 10 elements
    thrust::device_vector<int> X(10);
    thrust::device_vector<int> Y(10);
    thrust::device_vector<int> Z(10);

    // initialize X to 0,1,2,3, ....
    thrust::sequence(X.begin(), X.end());

    //  Y = -X
    thrust::transform(X.begin(), X.end(), Y.begin(), thrust::negate<int>());

    // fill Z with twos
    thrust::fill(Z.begin(), Z.end(), 2);

    //  Y = X mod 2
    thrust::transform(X.begin(), X.end(), Z.begin(), Y.begin(), thrust::modulus<int>());

    // replace all the ones in Y with tens
    thrust::replace(Y.begin(), Y.end(), 1, 10);

    // print Y
    thrust::copy(Y.begin(), Y.end(), std::ostream_iterator<int>(std::cout, "\n"));

    return 0;    
}

下面展示了 saxpy (ax+y) 的两种实现

struct saxpy_functor
{
    const float a;

    saxpy_functor(float _a) : a(_a) {}

    __host__ __device__
        float operator()(const float& x, const float& y) const { 
            return a * x + y;
        }
};

void saxpy_fast(float A, thrust::device_vector<float>& X, thrust::device_vector<float>& Y)
{
    // Y <- A * X + Y
    thrust::transform(X.begin(), X.end(), Y.begin(), Y.begin(), saxpy_functor(A));
}

void saxpy_slow(float A, thrust::device_vector<float>& X, thrust::device_vector<float>& Y)
{
    thrust::device_vector<float> temp(X.size());

    // temp <- A
    thrust::fill(temp.begin(), temp.end(), A);

    // temp <- A * X
    thrust::transform(X.begin(), X.end(), temp.begin(), temp.begin(), thrust::multiplies<float>());

    // Y <- A * X + Y
    thrust::transform(temp.begin(), temp.end(), Y.begin(), Y.begin(), thrust::plus<float>());
}

如果忽略temp的分配开销
saxpy_fast共有2N次读,1N写的开销
saxpy_slow有4N次读,3N次写的开销
在像SAXPY这样的算法中,通常值得应用kernel fusion(将多个操作组合到单个kernel中)以最小化内存读写的开销

thrust::transform 只支持具有一个或两个输入参数的转换(例如, f(x) → y and f(x,x)->y)。
当转换使用两个以上的输入参数时,有必要使用不同的方法。例如thrust::zip_iterator 和 thrust::for_each

3.2 Reductions(归约)
归约算法使用二元操作符将一个序列的值转换为单个值
如求和,求最大值

int sum = thrust::reduce(D.begin(), D.end(), (int) 0, thrust::plus());

这里前两个参数提供归约序列,后两个提供初始值和归约运算符
下面三个是等价的0和plus是默认参数

int sum = thrust::reduce(D.begin(), D.end(), (int) 0, thrust::plus());
int sum = thrust::reduce(D.begin(), D.end(), (int) 0);
int sum = thrust::reduce(D.begin(), D.end())

虽然thrust::reduce足以实现各种各样的归约,Thrust提供了一些便利的附加功能。
例如,thrust::count 以给定顺序返回特定值的实例数量:

#include <thrust/count.h>
#include <thrust/device_vector.h>
...
// put three 1s in a device_vector
thrust::device_vector<int> vec(5,0);
vec[1] = 1;
vec[3] = 1;
vec[4] = 1;

// count the 1s
int result = thrust::count(vec.begin(), vec.end(), 1);
// result is three    

thrust还提供了其他归约运算如thrust::count_if, thrust::min_element, thrust::max_element, thrust::is_sorted, thrust::inner_product, 等等见参考文档

下面用一个计算向量范数的实现方案来介绍reduce与transform的合并操作

#include <thrust/transform_reduce.h>
#include <thrust/functional.h>
#include <thrust/device_vector.h>
#include <thrust/host_vector.h>
#include <cmath>

// square<T> computes the square of a number f(x) -> x*x
template <typename T>
struct square
{
    __host__ __device__
        T operator()(const T& x) const { 
            return x * x;
        }
};

int main(void)
{
    // initialize host array
    float x[4] = {1.0, 2.0, 3.0, 4.0};

    // transfer to device
    thrust::device_vector<float> d_x(x, x + 4);

    // setup arguments
    square<float>        unary_op;
    thrust::plus<float> binary_op;
    float init = 0;

    // compute norm
    float norm = std::sqrt( thrust::transform_reduce(d_x.begin(), d_x.end(), unary_op, init, binary_op) );

    std::cout << norm << std::endl;

    return 0;
}

这里需要提供单元运算符和二元运算符

3.3 Prefix-Sums
数组前缀和和扫描操作是许多并行算法重要的一块
下面展示一个扫描操作inclusive scan (默认使用 加 运算)

#include <thrust/scan.h>

int data[6] = {1, 0, 2, 2, 1, 3};

thrust::inclusive_scan(data, data + 6, data); // in-place scan

// data is now {1, 1, 3, 5, 6, 9}

Sn = a1 + … an

有一个类似的操作exclusive scan,不过他的结果向右偏移了一个位置

#include <thrust/scan.h>

int data[6] = {1, 0, 2, 2, 1, 3};

thrust::exclusive_scan(data, data + 6, data); // in-place scan

// data is now {0, 1, 1, 3, 5, 6}

Sn = a1 + … an-1

3.4. Reordering

Thrust 给分区(partitioning) 和 流压缩(stream compaction)提供了以下算法支持

copy_if : 通过判定条件复制元素

partition : 根据判定条件对元素重新排序(错例在后)

remove 和 remove_if : 移除判定条件为false的元素

unique: 去重

具体使用详见文档

3.5 sorting (排序)
thrust提供了thrust::sort 和 thrust::stable_sort 类比与stl的

#include <thrust/sort.h>

...
const int N = 6;
int A[N] = {1, 4, 2, 8, 5, 7};

thrust::sort(A, A + N);

// A is now {1, 2, 4, 5, 7, 8}

通过键值排序 thrust::sort_by_key 和 thrust::stable_sort_by_key

#include <thrust/sort.h>

...
const int N = 6;
int    keys[N] = {  1,   4,   2,   8,   5,   7};
char values[N] = {'a', 'b', 'c', 'd', 'e', 'f'};

thrust::sort_by_key(keys, keys + N, values);

// keys is now   {  1,   2,   4,   5,   7,   8}
// values is now {'a', 'c', 'b', 'e', 'f', 'd'}

他们还接受一个比较运算符(仿函数)

#include <thrust/sort.h>
#include <thrust/functional.h>

...
const int N = 6;
int A[N] = {1, 4, 2, 8, 5, 7};

thrust::stable_sort(A, A + N, thrust::greater<int>());

// A is now {8, 7, 5, 4, 2, 1}

4.魔幻迭代器

4.1 constant_iterator
这种迭代器用于返回常量,无论索引为何

#include <thrust/iterator/constant_iterator.h>
...
// create iterators
thrust::constant_iterator<int> first(10);
thrust::constant_iterator<int> last = first + 3;

first[0]   // returns 10
first[1]   // returns 10
first[100] // returns 10

// sum of [first, last)
thrust::reduce(first, last);   // returns 30 (i.e. 3 * 10)

对于常数序列,这是一个高效便利的方式

4.2 counting_iterator
如果需要一个自增的序列,这个迭代器是一个很好的选择

#include <thrust/iterator/counting_iterator.h>
...
// create iterators
thrust::counting_iterator<int> first(10);
thrust::counting_iterator<int> last = first + 3;

first[0]   // returns 10
first[1]   // returns 11
first[100] // returns 110

// sum of [first, last)
thrust::reduce(first, last);   // returns 33 (i.e. 10 + 11 + 12)

constant_iterator 和 counting_iterator并无存储数组,只是实时计算返回

4.3 transform_iterator

#include <thrust/iterator/transform_iterator.h>
// initialize vector
thrust::device_vector<int> vec(3);
vec[0] = 10; vec[1] = 20; vec[2] = 30;

// create iterator (type omitted)
...
first = thrust::make_transform_iterator(vec.begin(), negate<int>());
...
last  = thrust::make_transform_iterator(vec.end(),   negate<int>());

first[0]   // returns -10
first[1]   // returns -20
first[2]   // returns -30

// sum of [first, last)
thrust::reduce(first, last);   // returns -60 (i.e. -10 + -20 + -30)

这种迭代器行如其名
这里没有使用transform_iterator而是用make_transform_iterator是因为考虑到过长的迭代器类型
下面的代码避免了first与last的创造后的不必要的存储操作

thrust::reduce(thrust::make_transform_iterator(vec.begin(), negate<int>()),
           thrust::make_transform_iterator(vec.end(),   negate<int>()));

4.4 permutation_iterator
这种迭代器通过一个键值来间接访问原序列,即打乱顺序

#include <thrust/iterator/permutation_iterator.h>

...

// gather locations
thrust::device_vector<int> map(4);
map[0] = 3;
map[1] = 1;
map[2] = 0;
map[3] = 5;

// array to gather from
thrust::device_vector<int> source(6);
source[0] = 10;
source[1] = 20;
source[2] = 30;
source[3] = 40;
source[4] = 50;
source[5] = 60;

// fuse gather with reduction: 
//   sum = source[map[0]] + source[map[1]] + ...
int sum = thrust::reduce(thrust::make_permutation_iterator(source.begin(), map),
                         thrust::make_permutation_iterator(source.begin(), map.end()));

迭代器的初始和结束由map决定

4.5 zip_iterator
和python的zip差不多吧
结合多个独立序列

#include <thrust/iterator/zip_iterator.h>
...
// initialize vectors
thrust::device_vector<int>  A(3);
thrust::device_vector<char> B(3);
A[0] = 10;  A[1] = 20;  A[2] = 30;
B[0] = 'x'; B[1] = 'y'; B[2] = 'z';

// create iterator (type omitted)
first = thrust::make_zip_iterator(thrust::make_tuple(A.begin(), B.begin()));
last  = thrust::make_zip_iterator(thrust::make_tuple(A.end(),   B.end()));

first[0]   // returns tuple(10, 'x')
first[1]   // returns tuple(20, 'y')
first[2]   // returns tuple(30, 'z')

// maximum of [first, last)
thrust::maximum< tuple<int,char> > binary_op;
thrust::tuple<int,char> init = first[0];
thrust::reduce(first, last, init, binary_op); // returns tuple(30, 'z')

博客迁移之pytorch神坑记录

发表于 2018-04-16 | 分类于 ML&DL

本文由本人于2018.02.03于https://blog.csdn.net/qrfaction/article/details/79249831发布

前天由于需要
翻起pytorch文档直接撸
然后今天记录一下这两天一路踩下来的神坑

pytorch3.0

  1. Tensor 和 Variable不能自动互转…

  2. Tensor各种类型之间不支持自动互转…

  3. Tensor的布尔索引不支持 list

  4. 循环单元的初始隐藏状态得自己设置,最好在传播时生成,因为他的batchsize大小会固定…

  5. 放在GPU上跑的时候记得把循环单元的初始隐藏状态 .cuda() ,因为GPU上的变量类型和CPU上的不能互转…

  6. 推断模式 一定要把变量设置成volatile = True,否则他会有一部份内存不会释放掉…
    我这里反正是由于验证集太大 有快百个G没释放掉 … 开了这个之后内存占用一直没超过12G…

  7. 使用dropout ,batchnorm 时记得使用 train() 和 eval()

  8. 模型 .cuda()转到GPU上后 参数也会改变 所以优化器一定要在这个之后用…

  9. pytorch3.0在开Data parallel后跑两个程序会导致进程死锁(kill不掉,以及尝试各类方法) 唯一的解决方案是重启

GPU高性能编程CUDA实战阅读笔记

发表于 2018-04-09 | 分类于 高性能编程

闲暇的时候花了一点时间翻了一下这本书
当初一直犹豫到底要不要学(最终还是学了hh)

在看这本书之前推荐看个文章
https://zhuanlan.zhihu.com/p/34587739
从这里我们可以基本了解到GPU是依靠堆积并行线程数量实现加速
使用SM(流式处理器),使用单指令多线程架构来调度block至grid级的线程

这本书里除去一些api的调用介绍
重点有以下概念总结

1. 常量内存

在数百个乃至上千的并行线程的任务中,性能瓶颈不一定在数学计算吞吐量,而在于芯片的内存带宽
声明常量内存只需要在变量前面加上 __constant__ 修饰符

常量内存的特性:

  1. 可读不可写
  2. 常量内存的读取请求是串行化处理的
  3. 当一个线程束中多个线程从常量内存的相同地址上读取数据时,常量内存会通过广播机制来处理
     即一次读取请求得,到结果后广播至其他线程 (最多半个线程束,故只需处理两次读取请求)
  4. 由于该内存内容不会发生变化,在读取常量内存时,硬件将主动将其缓存至GPU,这将进一步减少内存流量

但我们仍需注意,如果线程束中经常出现读取常量内存中不同的数据,将会导致这些读取请求串行处理,而读取全局内存是并行的,这时候会出现慢于从全局内存中读取的情况

2. 共享内存

共享内存作用于块级线程的通信的共享是块级的,当把一个变量声明为共享内存时
声明共享内存只需要在变量前面加上 __shared__ 修饰符

共享内存的特性:

  1. 对于GPU上启动的每个线程块,CUDA C编译器都将创建该变量的一个副本
  2. 单个线程块中可依靠这个变量进行通信,但这不会影响其他线程块中的变量副本
  3. 共享内存缓冲区驻留在物理GPU上,非GPU之外的系统内存,访问他的延迟远低于访问普通缓冲区的延迟

3. 纹理内存

纹理内存同样用于减小内存带宽压力

纹理内存的特性:

  1. 对于内存访问模式中具有强空间局部性的可获得较好的加速效果 (如卷积运算)
  2. 只读不可写

4. 页锁定主机内存与流

页锁定内存也称固定内存或不可分页内存,他有一个重要的属性,OS不会对这块内存进行分页并交换至磁盘上,从而确保该内存始终驻留在物理内存

在GPU与主机之间的数据拷贝时,复制操作将执行两次,一次是将可分页内存中的数据复制到临时的页锁定内存,第二次再将这个页锁定内存中的数据复制到GPU上
从上述特性可以看出可分页内存的数据拷贝将比页锁定内存的拷贝多耗一倍时间

零拷贝内存
固定内存保证了该内存不会被交换出去或者重新定位
使得GPU直接访问该内存得以实现,而非需要先进行拷贝数据至显存上
CUDA有个”合并式写入(write-combined)”模式,可提高GPU读取该内存的速度但会降低CPU访问他的速度
由于集显的内存是和主机共享的所以集显一般能获得性能提升
零拷贝内存的主要作用就是避免不必要的数据复制
如果该内存会被多次读取不如一开始就将数据复制到GPU上,因为GPU与CPU的通信带宽会限制程序性能

CUDA流
CUDA流表示一个GPU操作队列,同个流中的操作将串行执行,而不同流中的操作可并行执行
CUDA提供一个异步数据拷贝的API,但该操作需要在固定缓冲区执行,这要求该内存是页锁定内存
在支持设备重叠的机子上,内存的复制和核函数的执行可以并行执行
即存在内存复制引擎和核函数执行引擎分别执行这两个函数
虽说是异步执行,但是这些异步操作是只有这两个引擎在那处理的
所以防止第一个流中的操作阻塞第二个流中的操作最好放入队列时应采用广度优先而非深度优先

页锁定内存的特性是只有分配他的正在使用的cpu线程可以享有
需要设定cudaHostAllocPortable才可在多线程中使用

博客迁移之RCNN简单回顾

发表于 2018-04-04 | 分类于 CV

本博客于本人1.20号在csdn发布
csdn链接 https://blog.csdn.net/qrfaction/article/details/79112431

简单回顾只挑重点
RCNN

大致步骤:

  1. selective search选框
  2. 裁剪缩放到相同尺度送入卷积网络获取高度抽象的描述符
  3. 送入SVM分类
  4. 区域回归


    冗余计算太多。。。没啥好说的吧毕竟是初版

Fast-RCNN

变动有:

  1. 将图像先送入卷积网络,SS选框后获得proposal的坐标,从而可以直接从特征图筛选区域
  2. 提出ROI Pooling将ROI大小统一
  3. end2end训练


    去除了RCNN的proposal冗余的CNN计算

Faster-RCNN

变动有:

  1. 提出PRN网络替代selective search选框(对特征图上的每个点进行前后景分类,坐标回归,配合anchor)


    selective search那种图像筛选方式效率太低 PRN在特征图上分类回归生成proposal要强不少

Mask RCNN

变动有:

  1. 基础网络的强化 ResNeXt-101+FPN
  2. 加入了mask分支,同时做了分割任务
  3. ROI Align 替代ROI Pooling
      ROI Pooling的操作会对分割任务带来微小的偏移
      ROI Align通过双线性插值减小了这个影响


    感觉变化不如前两个大 就加强了基础网络以及多做了个分割任务

Light-Head RCNN

变动有:

  1. 指出faster-rcnn后接的两个fc计算量过大
  2. 指出R-FCN的position-sensitive scores map channel过多导致PSROI计算量过大
  3. faster-rcnn 与 R-FCN结合 用separable convolution缩减特征图通道,在这里由于通道缩减 无法直接投票,接上一个全连接层回归分类
  4. 去掉了全局池化利于回归

END2END优化AUC && F-Score

发表于 2018-04-02 | 分类于 ML&DL

AUC与F-score的直接梯度优化


此博文为 本人 CSDN博客迁移过来
原文链接 https://mp.csdn.net/mdeditor/79218697


AUC与F-score作为分类问题竞赛中热门的评估指标
对于他们的优化往往都是通过间接方法
例如样本不平衡中的代价敏感学习

对于auc与F-score的介绍不在展开
附上网上找的一个链接https://www.jianshu.com/p/498ea0d8017d

一个论文中提到的方法
论文链接 http://proceedings.mlr.press/v54/eban17a/eban17a.pdf

这里f-score的优化方式是约束精准率的下限来最大化召回率实现的
论文里废话比较多 挑些重点放 详细看论文吧


以F1-score为例
优化目标与精准率召回率公式:
`优化目标
这里写图片描述

等价转换
这里写图片描述
这里写图片描述

将零一损失替换会hinge损失便于优化   这里的Lh 是hinge损失
这里写图片描述
优化目标变为
这里写图片描述
再等价转换
这里写图片描述
拉格朗日函数
这里写图片描述
梯度优化法
这里写图片描述

其基本想法其实是用Hinge替代了零一损失
所以直接优化f-score的关键点在于找到一个可凸优化的loss来替代召回率精准率
而固定精准率最大化召回率等比较次要
找到了这个loss后直接使用框架带有自动求导机制梯度优化即可

AUC的优化

auc是一个基于rank的评价指标
下面先给出auc的计算公式
这里写图片描述
基于上面论文的思路 我们只需要将里面不可微的部分用一个函数去平滑他即可


观察下图
这里写图片描述
正例 < 负例    loss =1
正例 = 负例    loss=0.5
正例 > 负例    loss=0
可以用对数loss , 指数loss , 均方误差等loss替代
但是不是所有loss替代后和原AUC的优化有一致性

https://arxiv.org/pdf/1208.0645.pdf
这篇论文指出 有如下与auc有一致性的loss
这里写图片描述
这里写图片描述
这里写图片描述
这里写图片描述
这里写图片描述

综上 我们知道了NN可以 end-to-end的优化auc与f-score了
可是基于GBDT及其改版的梯度树似乎没有什么好的办法直接优化?
梯度树将样本的一阶至二阶梯度信息替代了信息熵和基尼指数来作为评分函数
梯度信息将决定样本归于哪个叶节点
而这里的优化方式是计算了样本总体的一个loss
无法区分到各样本上
貌似树模型的auc与F-score优化还是只能靠剪枝?

毒性文本多标签分类竞赛总结

发表于 2018-03-19 | 分类于 NLP

废话不多说 直接正题

1. 数据清洗

  • 统计文本中出现单词词频,统计oov word词频
  • 根据kernel里的各种EDA滤去不必要的单词
  • 根据oov word统计的词频修正高频拼写错误(不要用相关算法,oov会越来越多的)
  • 正则+替换修正一些拼写错误
  • emoij表情用good,bad,happy等替代
  • 将测试集中约两千的非英文文本翻译成英文(在我比赛结束后意识到他并重新跑了几次测试后,恩,他让我从top2%掉到top9%气坏了 = = 打标签的人看不懂外国语言emmmm)

重点

  1. 千万不要提取词干,单词的不同形式在不同标签下有不同分布,提取了等于丢失信息
  2. “_”,”-“这种一定要去掉,否则oov太多
  3. 滤掉词频<4的单词

2. 特征工程

  • 利用ConvAI数据集训练一个模型给我这个数据的样本打上label(那个任务和我这个强相关)效果不错
  • 词性标注然后获得各词性在句子中概率分布得到一个(samples,tags)矩阵 ,然后在samples这个维度pca降维,
    即可得到各词性的向量表示,和word进行concat,效果不佳
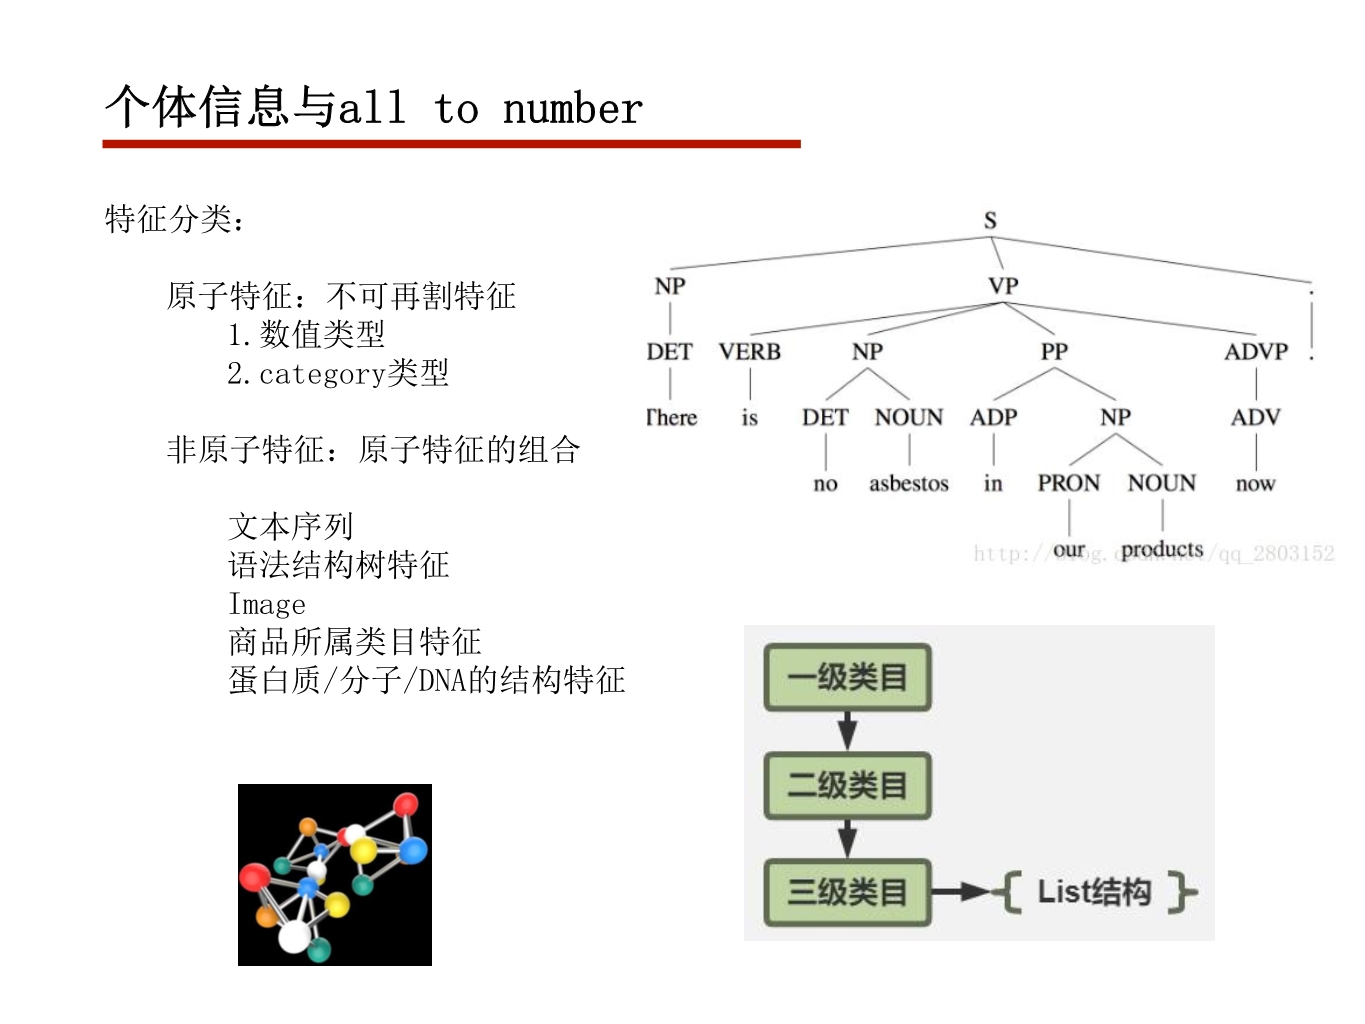
  • 句法分析,通过获得句子的语法结构树,通过先序后序遍历获得树结构的近似序列表示,丢入word2vec,得到语法 结构的矩阵表示,效果不明显
  • LDA聚类,效果不明显
  • tfidf获取character级信息,然后压缩降维至32/128维度(效果不明显)
  • 通过两步训练处理oov单词
    1. 首先用训练测试文本预训练character级的字符(3-gram)
    2. 再用上述所得到的来拟合公开预训练的词向量(例如输入是(hap,app,ppy) 输出是(happy)
    3. 这一方面就可以通过得到的character级的字符来处理oov单词,另一方面还可以捕捉单词之间的相似性
    想法很美好,代码也写好了,但是放入模型中有很多小细节要改,于是我并没有使用(懒癌犯了)
    
  • 统计类特征:统计感叹号个数,平均字长,文本长度,句子个数,大写字母个数,字母分布等等等等(有点效果)

3. 模型设计

  • 多标签其实就是多任务,自然而然想到了任务的梯度平衡,loss加权是个很简单方式,但是调参需求功底过高,而且不同label收敛难度不一致所以设计了一个可梯度更新的自适应权重来平衡梯度(效果不明显)
  • 除上面之外加了个可梯度更新的可自适应正负样本的权重,效果同不明显…
  • 使用了ranking loss (相当于直接优化auc),但是这个loss对一个batchsize中的正负比例太敏感效果比普通的celoss,focalloss差很多
  • 优化上一个想法,通过rankingLoss * ceLoss作为loss,和普通celoss相比效果不明显…
  • 同上,通过样本平衡采样来解决rankingloss的样本比例问题,收敛速度大大提高,上限仍然不是很好…
  • 尝试注意力机制效果很不好…
  • 模型都搭的很简单,textcnn改动和两层双向GRU,but我的cnn分数上不去

    其实我还调了各种各样的模型结构,都不如上述的简单结构强 …

4. 迁移学习

  • 第一次使用google翻译API替换文本,再用替换后的训练一次模型,作为英文文本的初始化效果不如随机初始化…
  • 后来意识到上述行为等价于替换词向量,后意识到输入端替换后迁移很难实现好效果,于是乎现在ConvAI的数据集上的强相关任务下训练一次模型,再在当前任务下funetune,收敛速度快很多,上限没提高…

    在这里意识到了数据差异性的重要性,想到用不同词向量去拟合再集成,但是因为不停更换机子的缘故,为了数据传快点删掉了好多份词向量…然后就没回去下载尝试了

5. 数据增强

  • 通过google翻译API编码解码获得多份训练集…然后训练,其他人靠这个分数提高了不少,但我训练集拿是拿到了多次翻译版,但一直没用多份,总感觉怪怪的,可能是脑子进水了.
  • 通过替换词的位置增加噪声,分数没怎么变,但是这个至少制造了一点点差异性,对集成有好处

6. 模型集成

  • 简单的加权平均,恩感觉实惠舒服简单(其实是懒)

从冠军那里看到了利用半监督学习的思路,很强,效果也很棒

总的来说这次比赛做了很多事情
做的很多事情都是无用功,觉得效果会不错但是实际并没有
结果最终还是回到原点
上一个比赛做的事情不算太多,但是重点基本抓到了…
总得来说还是要抓住主要问题…

  1. 重点数据清洗的几个重点
  2. 模型容量
  3. 迁移特征

这次的比赛还是很遗憾的
考虑到约两千的非英文文本分数浮动太大于是全转成英文
结果反而被坑…
感觉两个月的努力付之东流…
十有八九不如意,只能今年再努力
恩,如果运气比别人差,看来那就只能多来几次了 hh

1…56

qrfaction

59 日志
8 分类
28 标签
RSS
© 2019 qrfaction
由 Hexo 强力驱动
|
主题 — NexT.Muse v5.1.4
访问人数 人